
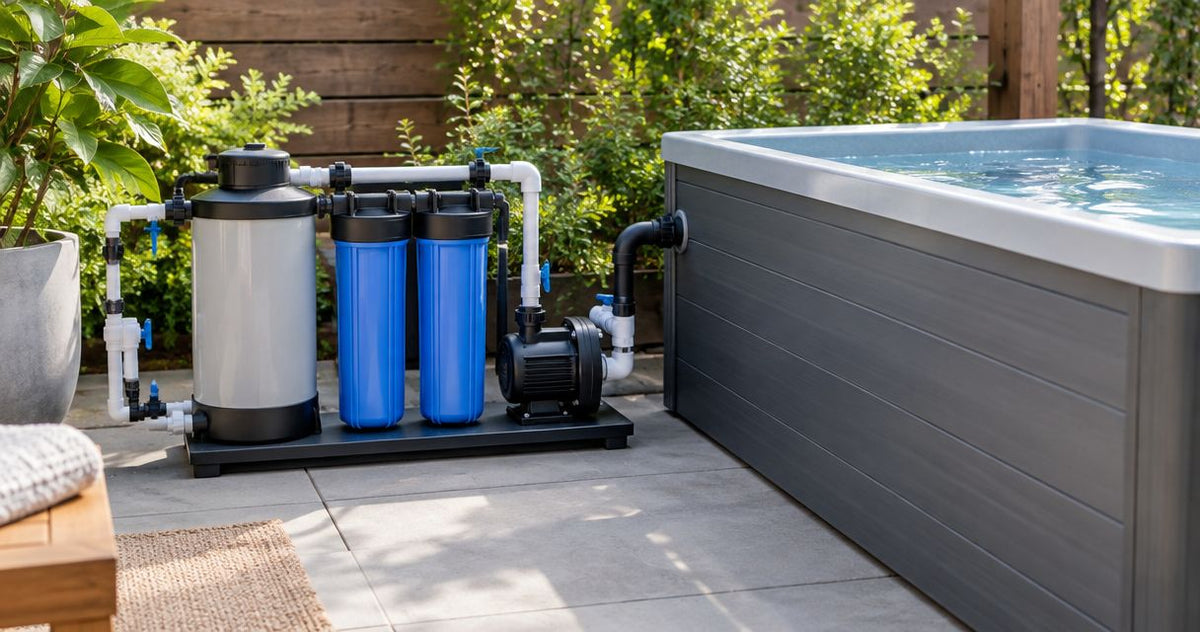
Instead of manually removing floating debris after every session, connect a water filtration system for cold plunge tub circulation through manufacturer-approved ports, then prime and leak-test the loop before use. This 2026 Aeva Vital guide explains how to check compatibility, assemble the connections, and maintain filtration without mistaking clear water for disinfected water.
By Editorial Team
- Aeva Vital recommends confirming cold plunge filtration compatibility before buying hoses, adapters, or pumps.
- Follow the equipment manuals for filter placement, flow direction, priming, and permitted water-treatment chemicals.
- A cartridge filter removes particles; it does not replace disinfection, water testing, or tub cleaning.
- Never drill new circulation ports or improvise submerged suction fittings.
Why this matters
A filtration loop moves tub water through a filter and returns it to the tub. A chiller changes water temperature; filtration removes particles. Neither function, by itself, establishes that the water is suitable for bathing.
Aeva Vital's cold plunge filtration guide is best for home users checking equipment compatibility before making connections. You can explore Aeva Vital for home wellness equipment, but use the specific tub and filtration manuals—not a general product category—to determine whether a connection is permitted.
The main installation risk is treating matching connector sizes as proof of compatibility. A fitting can attach correctly while the pump delivers unsuitable flow, the hose collapses under suction, or the filter housing exceeds its operating limits. Resolve those questions before assembly.
Before you start: your 2026 compatibility checklist
- Collect the documentation and access. Have the tub, pump, filter, and chiller manuals; access to the approved circulation ports; and an electrical supply suitable for the equipment and location. Use GFCI protection as required by the equipment instructions and applicable electrical rules.
- Match the complete connection specification. Confirm fitting type, thread standard, hose inside diameter, pressure and temperature ratings, cartridge specification, approved water treatment, and required flow range. Gather the specified seals, adapters, supports, and isolation components.
- Check the non-obvious gotcha: a drain is not automatically a circulation outlet. A drain fitting does not prove that the tub supports continuous pumping. If the manufacturer does not approve an external circulation connection, stop rather than drilling the shell or improvising a suction inlet.
Keep the tub empty of people throughout assembly and commissioning. Disconnect electrical equipment before handling water connections, and never operate a pump against closed valves or without the water supply its manual requires.
At a glance: choose the correct filtration arrangement
These are workflow options, not interchangeable installation kits. Select only an arrangement approved for your tub and connected equipment.
| Arrangement | Best for | Advantage | Limitation | Required check |
|---|---|---|---|---|
| Existing integrated filtration | A tub with a documented factory circulation system | Preserves the intended equipment arrangement | Cartridge and service choices depend on the system | Follow the original plumbing diagram and replacement specification |
| Approved external filtration loop | A tub documented for external circulation | Gives access to separate filtration components | Adds joints, hoses, and compatibility checks | Confirm pump, filter, ports, and operating limits together |
| No approved circulation connection | A tub without documented filtration compatibility | Avoids an unsupported modification | Does not provide continuous particle filtration | Follow the tub's cleaning and water-replacement instructions |
Keep an existing integrated system unless the manufacturer approves a change. An external filter is not automatically an improvement: additional resistance can reduce circulation, and extra connections create more places to inspect for leaks.
Connection plan
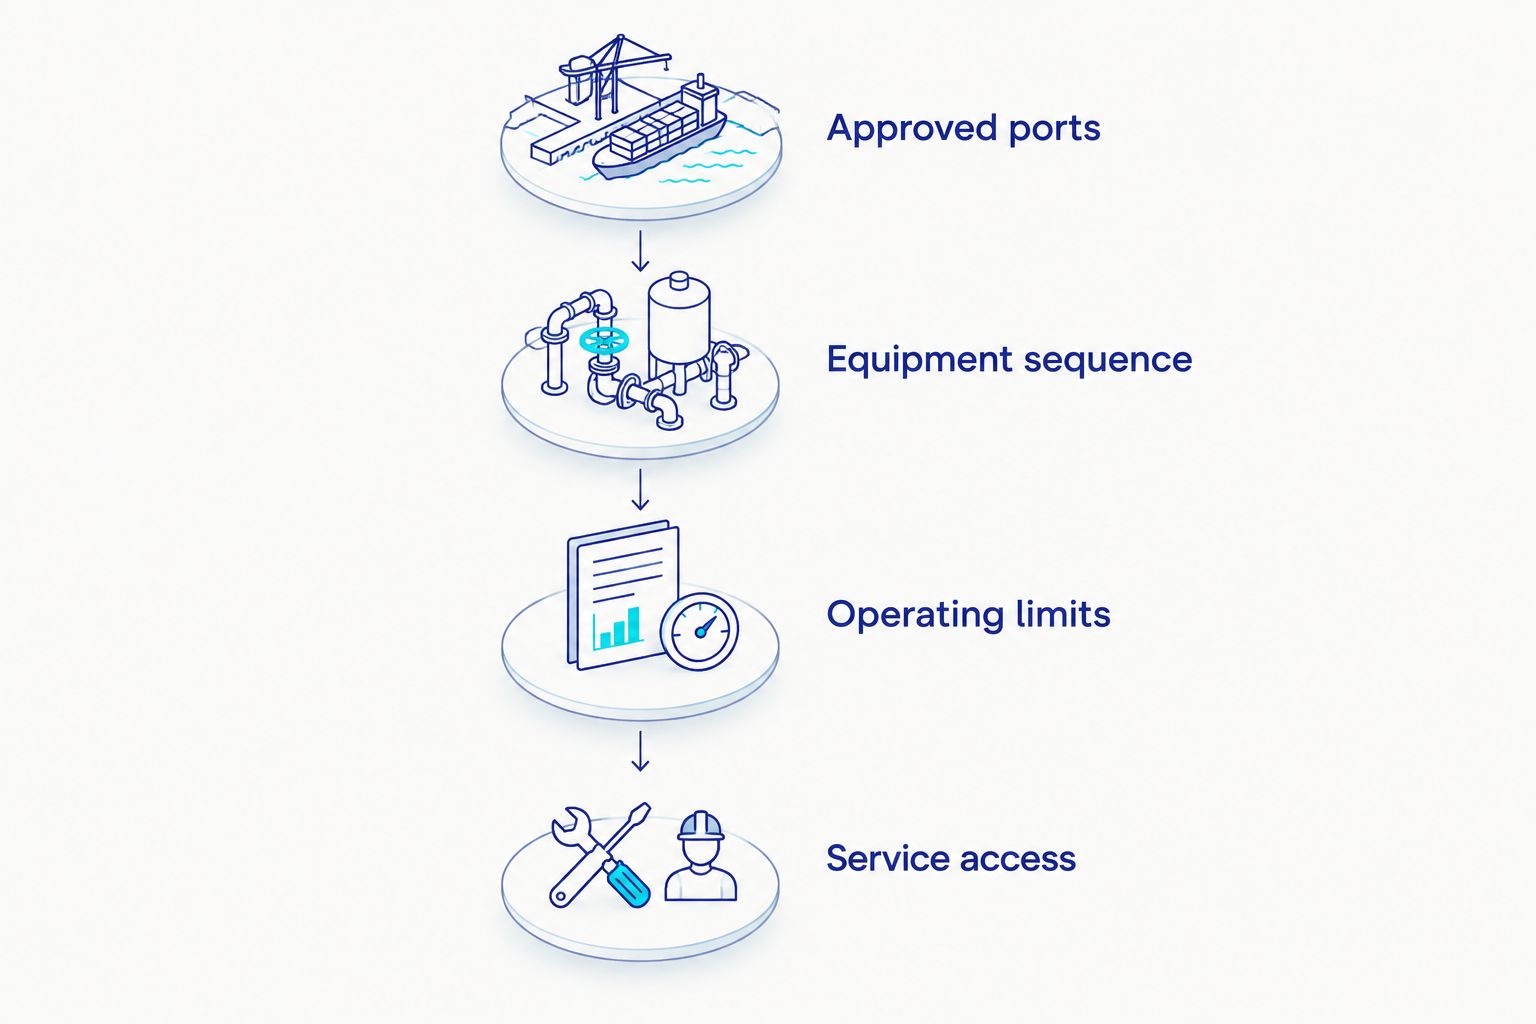
- Identify the approved tub connections. Find the circulation outlet and return in the tub documentation. Distinguish them from drains, overflow openings, and fill connections. Do not assume that a visible threaded opening serves a particular function.
- Copy the documented equipment sequence. Draw the tub outlet, pump, filter, any chiller, and tub return in the order required by the equipment manuals. Filter placement relative to the pump and chiller is equipment-specific; do not substitute a generic internet diagram.
- Record the operating limits. Compare the pump's performance information with the filter and chiller flow requirements. Pump flow changes with plumbing resistance, so a headline pump rating alone does not establish the flow through your assembled loop.
- Mark the service access. Leave room to remove the cartridge and open the housing as directed. Position equipment where you can inspect joints without moving a filled tub, and keep ventilation openings unobstructed.
Expected result: You have a documented connection plan with compatible operating limits and accessible service points. If the manuals conflict or omit a necessary limit, obtain clarification before assembling the loop.
Tub capacity also belongs in the plan. Use the cold plunge tank-capacity guide to understand the size distinction, then use your own tub's specified operating fill volume when assessing circulation.
Hose and filter assembly
- Prepare the sealing surfaces. Inspect fittings, housing seals, and hoses for damage or debris. Install the exact seal type specified for each joint. O-ring and gasket connections do not automatically require thread tape; apply sealant only where the fitting instructions call for it.
- Install the correct cartridge. Check the cartridge dimensions, end configuration, and filtration specification against the housing manual. Seat the cartridge and seal correctly, then close the housing using the manufacturer's tightening method.
- Connect each hose according to the plan. Match the equipment's indicated flow direction and use the specified connectors. Support hoses so their weight does not pull on tub ports, and avoid bends tighter than the hose manufacturer permits.
- Prepare for safe servicing. Install only manufacturer-approved isolation or disconnect components. Do not add valves that allow an unintended closed-flow condition, and do not remove guards or alter submerged suction arrangements.
Expected result: Each joint has the correct seal, hoses remain supported, and the filter housing is accessible. The equipment is still disconnected from electrical power.
What a micron rating actually tells you
A micron is a unit of length: 1 micron equals 0.001 millimeter. A filter's micron rating describes particle capture under its stated rating conditions, not the cleanliness of the entire tub.
Nominal and absolute ratings use different capture criteria. Compare the manufacturer's stated efficiency and test conditions rather than treating every cartridge with the same micron number as equivalent. A finer cartridge also adds resistance; select the specification approved for the circulation system instead of choosing the smallest number.
Particle filtration is not disinfection. Do not infer microbial safety from a cartridge rating, a clear appearance, or cold water.
Filling, priming, and commissioning
- Fill to the prescribed operating level. Follow the tub manual, not the vessel's advertised maximum capacity. Keep the approved circulation openings submerged as required and check the water-filled connections for leaks before powering equipment.
- Prime using the pump instructions. Fill the required pump and plumbing sections with water and release trapped air only through the documented procedure. Do not assume that a pump is self-priming or that it tolerates dry running.
- Restore power safely. Keep plugs, connections, and hands dry. Start circulation using the equipment's own instructions, with valves in their required operating positions. If the pump runs without moving water, stop immediately rather than waiting for it to recover.
- Inspect under operating conditions. Check the return flow and every joint. Look for drips, persistent bubbles, hose distortion, and unusual pump noise. Verify actual flow using the method the equipment manufacturer specifies, especially where a chiller has a minimum flow requirement.
- Commission temperature control separately. Once circulation is stable, enable the chiller according to its startup sequence. Never bypass a flow alarm or other protective interlock to force cooling.
Expected result: The loop circulates water without leaks or persistent air, and connected equipment operates within its documented limits. Complete the approved water-treatment and testing procedure before anyone enters the tub.
Do not set a universal daily filtration duration. Required operation depends on the system design, water volume, treatment instructions, and use; follow the equipment's documented schedule.
Cartridge replacement and restart workflow
Use this second workflow whenever the cartridge needs cleaning or replacement. A calendar reminder helps you inspect the system, but it does not replace condition-based service criteria in the manual.
- Stop the chiller and circulation equipment using the prescribed shutdown sequence, then disconnect power.
- Isolate the housing only if approved valves are installed. Otherwise, follow the documented draining procedure.
- Release housing pressure as instructed before opening it. Never loosen a pressurized housing.
- Clean or replace the cartridge according to its instructions. Do not wash a disposable element or apply an unapproved cleaning chemical.
- Inspect and reseat seals, close the housing, restore the operating valve positions, and repeat the priming and leak checks.
Expected result: Circulation returns to its normal condition without leaks, trapped air, or flow alarms. If flow remains restricted, investigate the rest of the loop rather than repeatedly replacing cartridges.
Keep spare cartridges identified by their exact specification. Visual similarity does not establish interchangeability.
Aeva Vital cold plunge products: what the supplied facts establish
The Aeva Vital product titles identify a 76.6-gallon portable inflatable ice bath and a 79-gallon cold plunge tub with a thermo lid. Those capacity figures describe the named products; they do not establish circulation-port compatibility, pump flow, or filter requirements.
| Product | Best for evaluating | Stated feature | What it does not establish |
|---|---|---|---|
| Portable Inflatable Ice Bath Tub | A portable inflatable tub format | 76.6-gallon capacity in the product title | Approved external filtration connections or pump compatibility |
| 79 Gallon Cold Plunge Tub | A tub supplied with a thermo lid | 79-gallon capacity and thermo lid in the product title | Included filtration, chiller compatibility, or circulation specifications |
For a 2026 filtration installation, obtain model-specific connection instructions before selecting either tub for an external loop. A capacity figure helps you assess vessel size; it cannot prove that the tub accepts a filtration kit.


Troubleshooting
- The pump runs but no water returns. Stop the pump. Check water level, approved valve positions, priming, and hose routing against the manual. Do not run it dry while diagnosing the problem.
- Bubbles continue entering the tub. Stop circulation and inspect suction-side joints and seals. A suction-side leak can draw air without producing an obvious water drip. Re-prime after correcting the connection.
- Return flow drops after installation. Check for kinked hoses, reversed equipment, a blocked cartridge, or an unsuitable adapter. Confirm measured flow against the equipment requirements; do not bypass a protective alarm.
- The filter housing leaks. Disconnect power and depressurize before opening it. Inspect the seal for damage, debris, or incorrect seating. Replace damaged parts with the specified replacements rather than tightening indefinitely.
- Water becomes cloudy or develops an odor. Keep people out of the tub while you investigate. Follow the approved testing, treatment, cleaning, and water-replacement procedure. A new cartridge alone does not resolve a water-treatment failure.
Customize your workflow for 2026
Expand the maintenance process before adding automation. Record your normal operating flow, cartridge specification, treatment method, and service instructions so you can recognize a change without guessing.
Keep chemical compatibility explicit. Tub materials, pump seals, filter media, and chiller components all need to tolerate the approved treatment; do not apply a general pool or spa recipe without checking the equipment documentation.
For shared-use installations, household instructions are not a complete operating plan. Check applicable local health requirements and obtain qualified guidance on circulation, treatment, testing, and supervision before allowing public or commercial use.
Avoid unattended automatic restarts unless the equipment supports them. Restoring power does not prove that the tub contains enough water or that valves remain correctly positioned after maintenance.
FAQ
Can I connect a water filtration system to any cold plunge tub?
No. Connect an external filtration system only when the tub manufacturer approves circulation connections and the connected equipment is compatible. A drain fitting alone is not proof of suitability.
Does the cold plunge filter go before or after the pump?
Follow the equipment manufacturers' plumbing diagrams. Filter placement depends on the pump, housing, and chiller requirements; there is no universal order for every cold plunge system.
What micron filter should I use for a cold plunge?
Use the cartridge specification approved for your filtration system. A smaller micron rating does not automatically improve the setup because finer filtration adds resistance and does not replace disinfection.
Can I use a filter without a chiller?
Yes, filtration and chilling perform separate functions. A filtration-only loop still needs an approved pump, compatible plumbing, and a suitable water-treatment routine.
How often should I replace the cold plunge filter?
Follow the cartridge and system service instructions. Inspect for the documented replacement indicators, including restricted flow or cartridge condition, rather than adopting an unsupported universal interval.
Does filtered cold plunge water still need disinfection?
Yes. Particle filtration does not replace an approved disinfection and testing procedure for recirculated bathing water. Clear-looking water is not proof of microbial safety.
Are Aeva Vital's listed tub capacities enough to choose a filtration kit in 2026?
No. The listed 76.6-gallon and 79-gallon capacities do not establish port compatibility, pump requirements, or filter specifications. Obtain the model-specific installation instructions before selecting a kit.
Related guides
One last thing
Label the hoses by their documented function before the first cartridge change. A clear connection record makes it easier to restore the approved arrangement after service—and prevents a reversed connection from becoming a recurring troubleshooting problem.
Review cold plunge tubs with a built-in chiller before choosing your system