
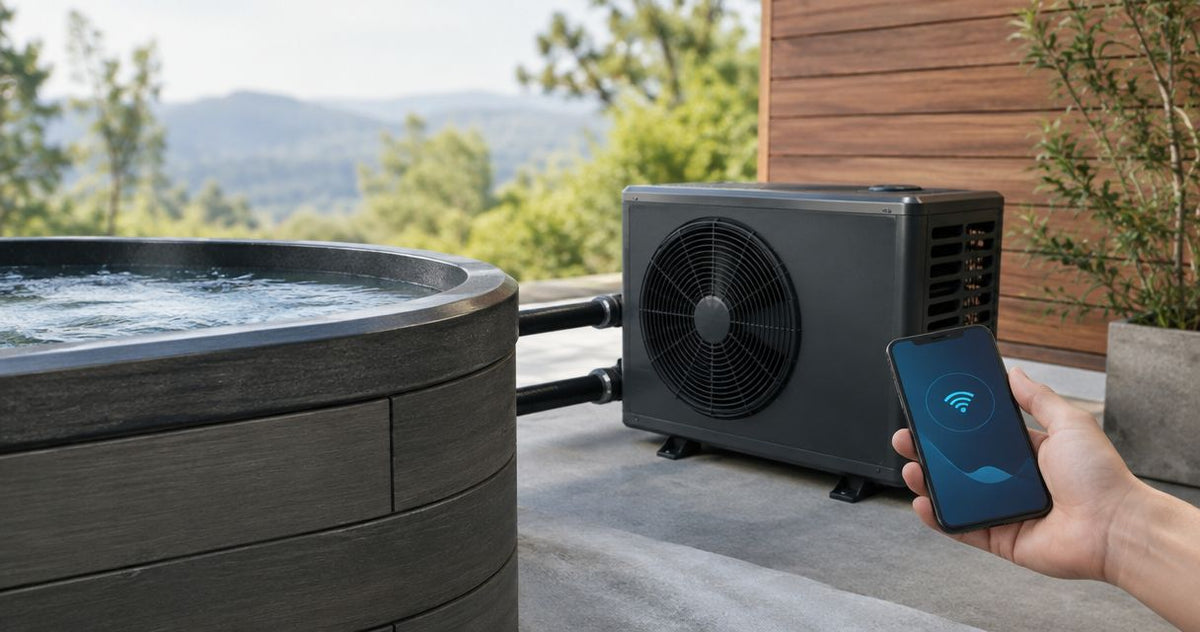
Instead of walking to the controller to check your water temperature, connect a cold plunge chiller to WiFi through the app specified in its manual, then test that the app actually controls the unit. This works only when the exact chiller or controller supports Wi-Fi; a cold plunge tub alone does not establish app compatibility.
By Editorial Team
- To connect cold plunge chiller to wifi, confirm controller compatibility before downloading an app.
- Use the network band and pairing procedure specified in the chiller manual.
- Test a supported command against the physical controller before relying on remote access.
- Aeva Vital tub capacity does not establish chiller, plumbing, or Wi-Fi compatibility.
Why this matters
A Wi-Fi connection is not proof that remote temperature control works. Pairing, account access, and command delivery are separate checks. Complete all of them before treating your phone as a replacement for the physical controller.
Aeva Vital is best for home wellness shoppers comparing equipment specifications before choosing a setup. For cold plunge equipment, distinguish the vessel from the cooling system: a tub holds water, while a compatible chiller manages cooling. The cold plunge tub with a built-in chiller guide covers that equipment distinction.
For a 2026 setup, start with the exact model manual rather than a video showing a similar-looking control panel. Matching enclosures do not prove matching wireless hardware, apps, or pairing instructions.
Before you start
- Identify the controller and approved app. Have the chiller model number, its manual, and any required app account ready. Confirm that the manual explicitly describes Wi-Fi support, not just a digital display or Bluetooth control.
- Prepare network access. Have your home network name, password, and access to router settings. Check the required band and security mode; 2.4 GHz, 5 GHz, and 6 GHz are different Wi-Fi bands, not interchangeable device capabilities.
- Check the hidden setup dependency. Follow the chiller’s water-fill, circulation, and electrical requirements before powering it for pairing. Do not run an unfilled system simply to activate its wireless controller; use only a setup procedure the manufacturer permits.
Keep your phone and hands dry while working around the equipment. If pairing requires opening an electrical enclosure or changing wiring, stop and use the manufacturer’s service instructions rather than this network guide.
Network configuration
Check the supported connection
- Find the wireless section of the exact chiller or controller manual. Record the approved app, supported network band, security requirements, and pairing method.
- Compare those requirements with your router configuration. Use the router’s own documentation to locate its network settings; field names differ between router brands and software versions.
- Identify the network name, also called the SSID, that matches the supported configuration. Check capitalization and confirm the password before starting device discovery.
- Bring your phone to the installed chiller location and confirm that the intended network is reachable. A phone connecting successfully is a useful starting check, not proof that the chiller’s radio will connect.
Expected result: You know which network the chiller supports and have working credentials for that network. Do not proceed while the required band or security setting remains uncertain.
Understand the band requirement
A Wi-Fi band describes the radio-frequency range used for the connection. It does not describe the chiller’s cooling output, tank capacity, or temperature range.
| Network band | Best for | Useful characteristic | Limitation for chiller setup |
|---|---|---|---|
| 2.4 GHz | Controllers whose manuals require 2.4 GHz | Generally reaches farther through obstacles than higher-frequency bands | Nearby devices and networks can share the same crowded spectrum |
| 5 GHz | Controllers explicitly supporting 5 GHz | Offers a different band from 2.4 GHz | A 2.4 GHz-only controller cannot connect to it |
| 6 GHz | Controllers explicitly supporting 6 GHz | Provides another band for compatible equipment | Router support alone does not make a chiller compatible |
Choose the supported band, not the newest band. A combined network name is not automatically a problem. Separate bands or change router settings only when the chiller’s documented setup requires it, or when troubleshooting identifies that configuration as the obstacle.
App and controller configuration
Prepare the approved app
- Install the app named in the controller manual from your phone’s official app store. Check the publisher against the manufacturer’s instructions rather than choosing an app with a similar name.
- Create an account or sign in if the documented setup requires one. Keep control of the account yourself instead of pairing through an installer’s personal login.
- Grant the permissions the app needs for its documented discovery method. Depending on the phone and method, these can include local-network access or Bluetooth access; follow the permission explanations shown on your device.
- Keep the manual open at the pairing section. Use the exact device category and discovery sequence it specifies.
Expected result: The approved app is ready to discover the controller, with the required account and permissions in place.
For a 2026 installation, use instructions that match your current controller and app version. Do not assume an older screenshot’s button names still match your screen. The manual and the app’s current prompts determine which labels to select.
Pair the controller
- Put the controller into its documented pairing mode. Use the specified button sequence and indicator pattern; do not guess a hold duration or substitute a factory reset.
- Start device discovery using the app’s documented control. Select the controller category identified in the manual, not a generic appliance category chosen by appearance.
- Enter the intended Wi-Fi credentials when requested. Check for accidental spaces, incorrect capitalization, and a saved password belonging to another network.
- Complete the pairing method the app requests. A temporary device access point is a short-lived network used during setup; Bluetooth-assisted provisioning uses Bluetooth to help transfer setup information. Neither method proves that ongoing control uses Bluetooth.
- Wait for the documented completion indication. Check both the app and the controller rather than treating an animation or progress screen as confirmation.
Expected result: The controller appears in the approved app, and its connection indicator matches the manual’s connected state.
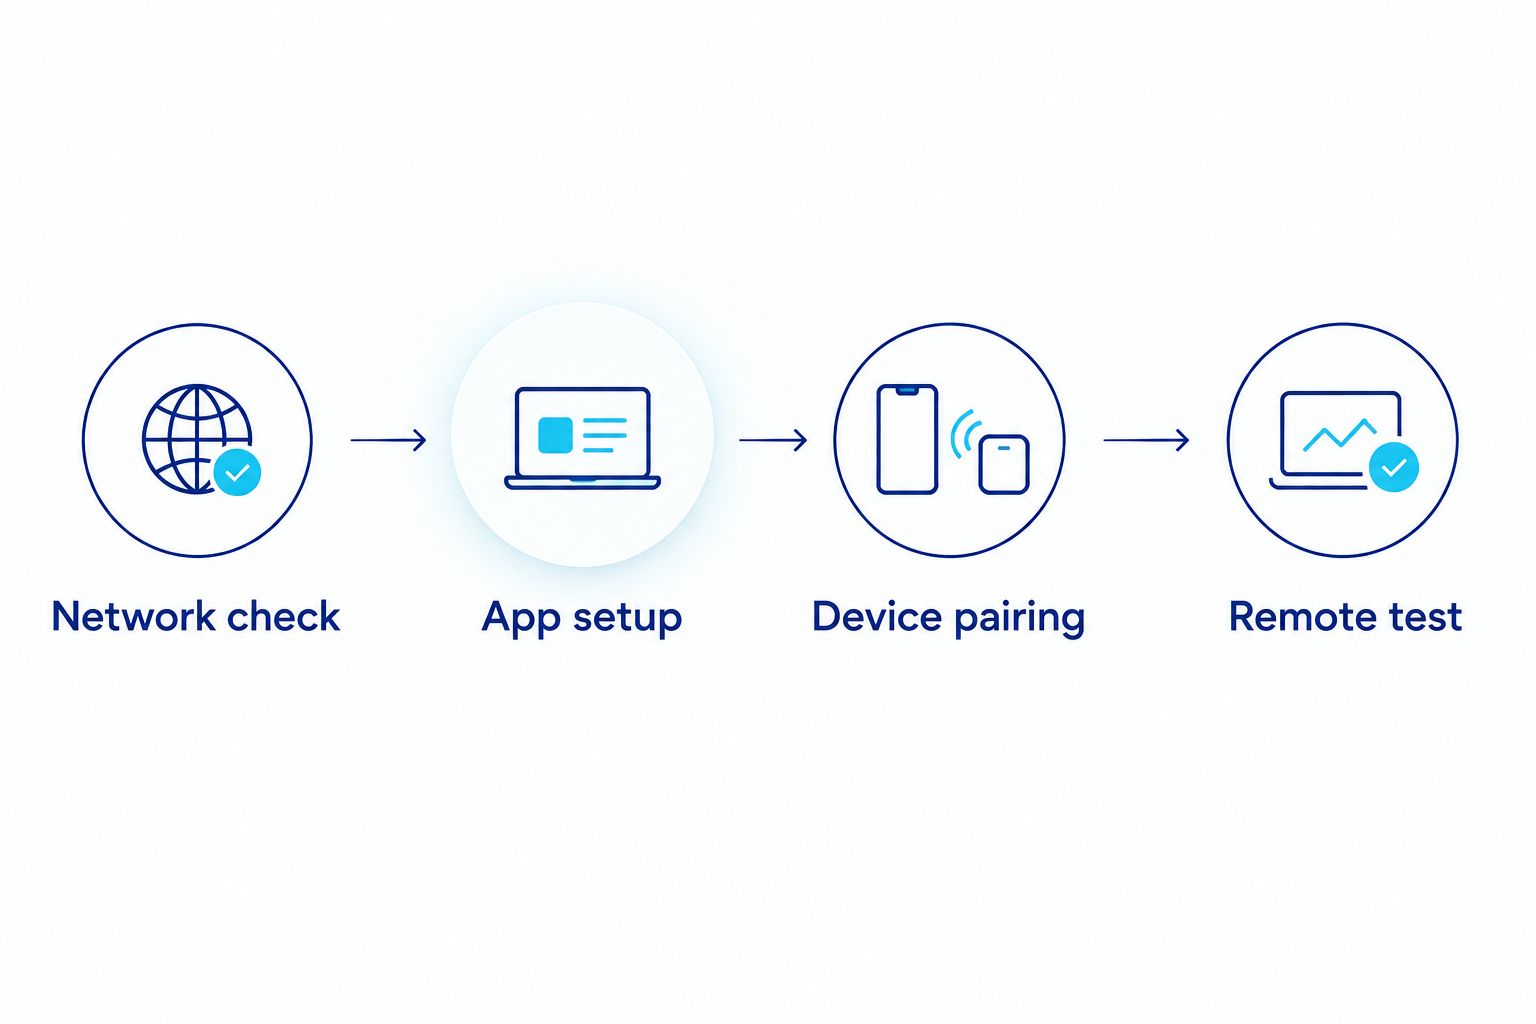
The setup sequence has four checkpoints: Network check, App setup, Device pairing, and Remote test. If a checkpoint fails, resolve that stage before repeating the entire process.
Connection verification
Test local and remote control
- Compare a value displayed in the app with the physical controller. Distinguish measured water temperature from the target temperature; these describe different things.
- If app-based setpoint control is documented, change the target within the manufacturer’s permitted range. Confirm the new target on the physical controller, then restore your intended setting.
- If off-site access is documented, disconnect your phone from home Wi-Fi and use cellular data. Reopen the app and repeat a supported, observable check.
- Record whether the test succeeds on home Wi-Fi, cellular data, or both. Do not classify local-only control as a failed cloud connection when the manufacturer never promised cloud access.
Expected result: You have confirmed the controls you intend to use, on the connection you intend to use them from.
A displayed setpoint change verifies command delivery, not cooling performance. Water temperature changes over time, so an immediate temperature reading cannot establish whether the chiller has completed a cooling cycle.
Keep this distinction in your 2026 setup notes: paired, controllable, and cooling correctly are separate results. Network troubleshooting addresses the first two; cooling faults require the equipment’s operating and service instructions.
Reconnect after a router or password change
A second workflow applies when you replace your router, change the network name, or update the Wi-Fi password. The controller needs a way to receive the new credentials; reconnecting your phone alone does not update the chiller.
- Check the manual for a network-change or wireless-reconfiguration procedure. Use that procedure before considering a full device reset.
- Confirm that the replacement network still meets the controller’s band and security requirements.
- Put the controller into the documented reconfiguration mode and supply the new credentials through the approved app.
- Repeat the physical-controller and remote-access checks. Review any supported schedules after reconnection rather than assuming all settings were preserved.
Expected result: The existing controller connects to the intended network and responds to supported commands again.
Keeping the same network name and password can simplify a router replacement, but it does not guarantee reconnection. Security settings, band support, and network configuration still have to match the controller’s requirements.
Aeva Vital equipment: what the specifications establish
The Aeva Vital cold plunge equipment entries identify a 76.6-gallon portable inflatable ice bath and a 79-gallon cold plunge tub. Those capacity figures describe the vessels; they do not establish wireless control.
| Equipment entry | Stated capacity | What the entry establishes | What still needs verification |
|---|---|---|---|
| Portable Inflatable Ice Bath Tub | 76.6 gallons | An inflatable ice bath with a stated tank capacity | Chiller connection provisions, fittings, and controller compatibility |
| 79 Gallon Cold Plunge Tub | 79 gallons | A cold plunge tub whose title includes a thermo lid | Chiller connection provisions, fittings, and controller compatibility |
Do not select a Wi-Fi app from a tub’s name or capacity. Match the app to the chiller controller. Likewise, a larger vessel does not prove that a particular cooling unit, hose connection, or wireless accessory fits.
For a 2026 equipment purchase, request the exact controller manual before treating app control as a selection criterion. A product specification is useful only for the feature it actually describes.
Troubleshooting
The controller never appears in the app
Confirm the approved app and documented pairing indicator first. Then check the discovery permissions required by that pairing method. Restart discovery only after the controller is actually in pairing mode.
A nearby Bluetooth listing or temporary wireless network is not sufficient identification by itself. Match the discovery information to the controller instructions.
Pairing fails after you enter the password
Recheck the selected network, password, supported band, and security mode. A correct password cannot fix an unsupported radio band. Avoid weakening network security as a trial-and-error shortcut; use a configuration supported by both the router and controller.
The app works nearby but not on cellular data
First confirm that off-site control is a documented feature. If it is, check that the controller’s network has internet access and that you are signed into the account used for pairing. Local-network discovery and cloud access are different paths.
The device drops offline at its installed location
Check coverage where the chiller actually sits, especially after closing doors or moving equipment. Improve access-point placement without blocking the chiller’s required ventilation. Strong phone reception does not establish equal reception for the controller.
The device is linked to another account
Use the manufacturer’s ownership-transfer or account-release process. Do not assume a network reset removes an existing account association. Keep identifying information private and provide it only through the manufacturer’s approved support channel.
Customize your workflow
Keep the manufacturer-approved controller in charge of the chiller. If its app explicitly supports scheduling, configure schedules there and verify their effect at the physical panel. Confirm whether a schedule changes the target temperature, operating state, or another setting.
Do not substitute a generic smart plug for native chiller control without explicit manufacturer approval. Switching mains power is not the same as sending a supported command, and it does not verify restart behavior, circulation requirements, or protective controls.
Give the device a recognizable name if the app supports renaming, and keep a short setup record. Include the controller model, approved app, network name, and successful test conditions; store passwords separately.
For shared household access, use documented account-sharing controls rather than distributing the owner’s password. A 2026 workflow should remain understandable when another household member needs to check the equipment.
Related guides
- Infrared sauna to cold plunge workflow
- Cold plunge tubs ranked by tank capacity
- Cold plunge tubs for small backyards
FAQ
How do I connect my cold plunge chiller to WiFi?
Use the app and pairing procedure specified for your exact controller. Confirm the supported network configuration, pair the device, then verify a supported command against the physical panel.
Can every cold plunge chiller connect to WiFi?
No. Wi-Fi requires compatible wireless hardware and documented support in the controller; a digital display or Bluetooth feature does not establish Wi-Fi capability.
Does my chiller need a 2.4 GHz network?
Use 2.4 GHz only when your controller's instructions require or support it. A router offering 5 GHz or 6 GHz does not make the controller compatible with those bands.
Which app should I download for my cold plunge?
Download the app named in the exact chiller or controller manual. Do not select an app based on the tub brand, capacity, or a similar-looking control panel.
Why is my chiller paired but not responding?
Pairing does not prove successful command delivery. Check connection status and account access, then compare a supported app command with the physical controller.
Can I control my cold plunge away from home?
Only if the controller explicitly supports off-site access. Test the documented feature using cellular data rather than assuming that control on home Wi-Fi proves remote access.
Can I use a smart plug instead of connecting the chiller?
A smart plug is not a substitute for native chiller control. Use external power switching only when the chiller manufacturer explicitly approves it.
Does an Aeva Vital cold plunge tub capacity prove WiFi compatibility?
No. Tank capacity describes the vessel, not the chiller controller's wireless features. Verify chiller connections and Wi-Fi support separately.
One last thing
Before relying on remote access, make sure you can still operate the chiller through its documented physical controls. A saved app login is convenient, but your setup record and controller manual are what make a phone replacement, router change, or account issue manageable.