
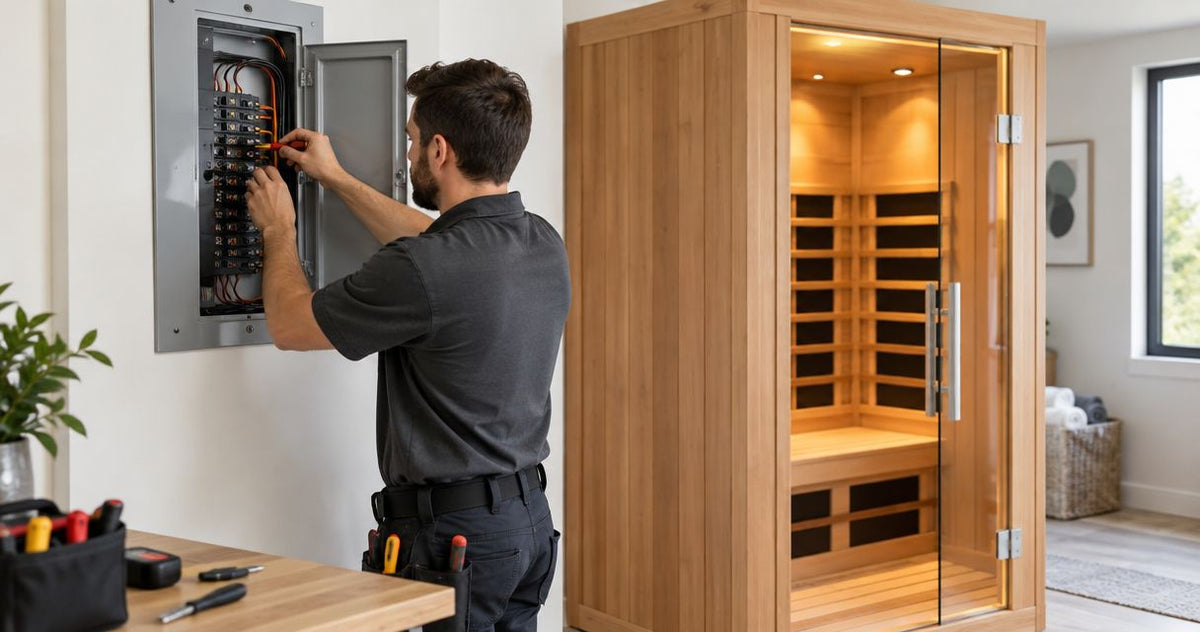
Instead of adapting an infrared sauna to the nearest outlet, have a licensed electrician match its nameplate and installation manual to a suitable branch circuit. Wiring an infrared sauna into your electrical panel is professional electrical work; this 2026 guide covers the homeowner’s preparation, installation handoff, and acceptance checks—not instructions for working inside a panel.
By Editorial Team
A plug-in sauna does not automatically need hardwiring, and a hardwired sauna cannot be converted to plug-in operation without manufacturer approval. Aeva Vital home infrared saunas are best for home buyers who confirm the exact model’s electrical requirements before planning installation. Start with the model documents, not seating capacity; the two-person infrared sauna selection guide covers the adjacent buying decision.
- Wiring infrared sauna electrical panel connections requires model-specific instructions and a qualified electrician, not a generic breaker recommendation.
- Aeva Vital home infrared saunas need an electrical review based on the exact model’s nameplate and installation manual.
- Confirm voltage, rated current, connection type, and local protection requirements before arranging a new branch circuit.
- Keep panel wiring, circuit testing, and hardwired connections with a licensed electrician.
Why this matters
An infrared sauna’s heating technology does not determine its supply voltage, breaker rating, or wiring method. Those decisions depend on the complete appliance, its instructions, and the electrical installation.
US residential systems commonly supply 120 volts and 240 volts. Those supplies are not interchangeable. Likewise, 15-amp and 20-amp branch circuits are different ratings, not alternative settings you select to stop a breaker from tripping.
For a 2026 installation, your electrician must follow the electrical code edition adopted locally and the applicable manufacturer instructions. An empty breaker position does not prove that your panel has capacity for another heating appliance. Panel space, service capacity, and breaker compatibility require separate checks.
Before you start
- Collect the exact appliance documents. Provide the model identifier, a readable nameplate photograph, the installation manual, and any separate heater or controller instructions. Collect documents before booking circuit installation.
- Arrange qualified access. Have a licensed electrician assess the panel, proposed sauna location, cable route, and permit requirements. Get property-owner approval when you do not own the home. Do not remove the panel cover yourself.
- Check the non-obvious connection issue. A factory cord or plug can be part of the appliance’s approved installation method. Do not cut it off to create a hardwired connection, use an adapter, or assume that a matching-looking outlet is electrically suitable.
Keep the sauna unplugged or disconnected until the supply is approved. Turning off the main breaker does not necessarily de-energize every component inside a service panel; leave internal inspection and work to the electrician.
At-a-glance connection comparison
These are installation approaches, not interchangeable upgrades. Choose the approach required by the exact sauna’s instructions.
| Connection approach | Best for | Advantage | Limitation |
|---|---|---|---|
| Approved existing receptacle | A cord-connected sauna whose requirements the existing circuit satisfies | Avoids unnecessary alterations when the electrician confirms suitability | Outlet appearance alone does not establish circuit capacity, grounding, or protection |
| New dedicated receptacle circuit | A cord-connected sauna requiring its own branch circuit | Separates the sauna from unrelated circuit loads | Requires circuit design, panel assessment, and any required permits |
| Manufacturer-approved hardwired connection | A sauna explicitly designed or instructed for hardwiring | Uses the specified permanent connection method | Requires professional termination and any required disconnecting means; it is not a DIY plug conversion |
A dedicated circuit serves the specified appliance rather than unrelated outlets or equipment. Whether your sauna requires one must come from its instructions and the applicable installation rules, not a blanket assumption about infrared heating.
Wiring infrared sauna electrical panel: planning checklist
The safe workflow has three configuration units: appliance requirements, branch-circuit design, and commissioning. Homeowners organize the documents and space; electricians design, install, and test the electrical system.
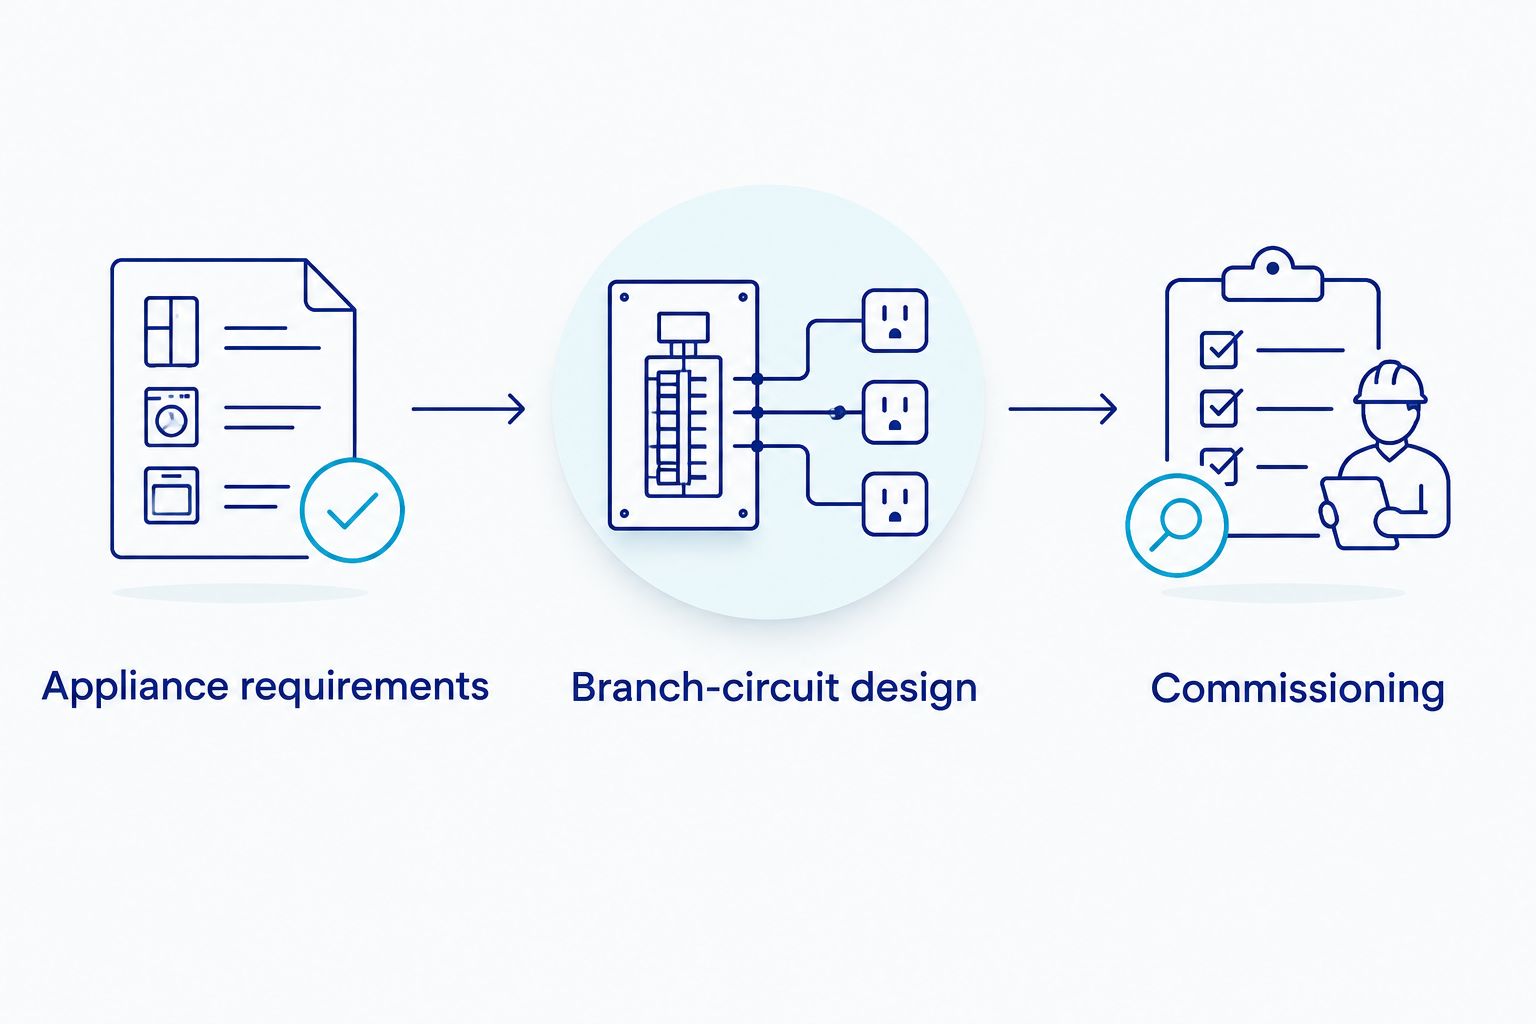
Appliance requirements
- Identify the exact model. Match the appliance’s identifier to its manual. Similar cabinet sizes or product names do not establish electrical compatibility.
- Record the supply requirements. Give the electrician the specified voltage, frequency, rated current or input power, connection method, and any stated dedicated-circuit requirement. Use the complete appliance rating, not a heater panel’s rating alone.
- Document the installation location. Record whether the space is indoors, near water, or subject to damp conditions. Confirm the manufacturer permits that environment before requesting a circuit there.
- Resolve conflicting documents. If the nameplate and manual appear inconsistent, obtain written clarification from the manufacturer before electrical work begins. Do not choose whichever requirement suits the existing outlet.
Expected result: Your electrician has a model-specific electrical requirement sheet and an approved installation location. No breaker size has been chosen from a generic sauna chart.
A wattage figure describes electrical input; it does not independently establish a suitable breaker or conductor. The electrician must account for applicable load rules, wiring conditions, and the appliance instructions. Do not treat a watts-divided-by-volts calculation as a complete circuit design.
Branch-circuit design
- Request a panel and service assessment. Ask the electrician to check calculated demand, panel condition, compatible breaker types, and available circuit space. A spare slot addresses only one part of the assessment.
- Confirm the connection method. Specify either the manufacturer-approved receptacle arrangement or the approved hardwired connection. Do not substitute a different plug, receptacle, or adapter to avoid installing the correct circuit.
- Approve the cable route and equipment locations. Agree on receptacle or disconnect placement, accessibility, and routing before walls are opened. Preserve required panel working space and the sauna’s stated service clearances.
- Confirm protection and permitting. Have the electrician determine grounding, bonding, ground-fault protection, arc-fault protection, and inspection requirements for the appliance and location. Obtain permits before work where required.
Expected result: You receive an installation scope identifying the circuit, connection point, protection, route, and inspection obligations. The electrician selects conductors and overcurrent protection together.
Ground-fault circuit-interrupter protection detects certain leakage-current conditions associated with shock hazards. Arc-fault circuit-interrupter protection detects certain arcing conditions associated with fire hazards. Neither term means that all sauna installations use the same device or arrangement.
For a 2026 project, ask which locally adopted requirements apply to the chosen room. Do not assume that a rule from another state, an older installation, or a different appliance settles your installation.
Commissioning
- Leave installation and electrical tests to the electrician. The professional installs the approved circuit and connection, verifies electrical conditions, and arranges required inspection. Do not handle exposed conductors or open the appliance’s electrical enclosure.
- Complete only the owner assembly steps. Follow the manual for cabinet assembly and any explicitly user-connectable components. Stop if a connector is damaged, unidentified, or requires electrical termination outside those instructions.
- Perform the initial operating check as instructed. Use the manufacturer’s startup procedure and keep the appliance attended. Have the electrician or qualified installer investigate abnormal behavior rather than repeatedly restarting it.
- Collect the handoff records. Retain the manual, circuit identification, inspection record when applicable, and the installer’s explanation of shutdown and isolation procedures.
Expected result: The sauna operates on its approved supply, the circuit is clearly identified, and you know how to stop use without opening electrical equipment.
Do not accept “the display lights up” as the entire commissioning check. Controls and heating components are different loads; professional verification must cover the installation’s electrical suitability, not merely visible power at the controller.
Aeva Vital model details: what they do and do not prove
The supplied product information identifies seating configurations and heating features. It does not establish branch-circuit ratings. Do not infer voltage, amperage, plug type, or hardwiring permission from these product names.
| Model | Best for | Documented detail | Selection benefit | Electrical limitation |
|---|---|---|---|---|
| Low EMF 2-Person Hemlock Far-Infrared Indoor Sauna with Double Glass Doors | Buyers seeking a stated two-person configuration | Product description identifies seven far-infrared heating panels | Provides a specific heating-panel count for comparing construction | Seven panels do not establish total input power or breaker requirements |
| Premium Low EMF 3-Person Hemlock Infrared Sauna – Heated Glass Door Design | Buyers seeking a stated three-person configuration | Product description identifies carbon panels and ceramic heating components | Identifies different heating components within the model | Seating capacity and heating-component types do not establish supply voltage |
For Aeva Vital sauna installation planning in 2026, request the exact model’s manual and nameplate information before approving electrical work. A heating-panel count describes construction; it is not evidence of electrical efficiency, operating current, or a required circuit size.
Do not transfer requirements from another model in the range. Even where two cabinets look similar, electrical compatibility must be established independently.
Second workflow: relocating an existing infrared sauna
Moving a sauna to another room creates a new electrical-location review, even when the appliance remains unchanged. Best for: owners relocating a cord-connected sauna without modifying its approved connection method.
- Check the new environment. Confirm the manual permits the room and that the required clearances and cord routing remain possible.
- Have the destination circuit assessed. Ask the electrician to verify voltage, circuit loading, receptacle compatibility, grounding, and applicable protection. The previous room’s approval does not transfer to another outlet.
- Move and reassemble according to the manual. Disconnect the appliance using its prescribed procedure. Have a qualified professional disconnect any hardwired installation.
- Repeat commissioning. Confirm normal operation and retain updated circuit identification and any required inspection records.
Expected result: The relocated sauna has an approved supply at its new position without extension cords or connection modifications. Reusing the appliance is a benefit; reassessing the destination is the limitation.
Troubleshooting: stop the fault, not the protection
Electrical symptoms need diagnosis. Do not use a larger breaker, bypass a protective device, or modify an appliance connector to make the sauna run.
The breaker trips during heating
Stop using the sauna and report when the trip occurs and what else was operating on the circuit. Have an electrician investigate circuit loading, wiring faults, and appliance faults; increasing the breaker rating without redesigning the circuit can leave wiring inadequately protected.
Ground-fault protection trips
Stop use and request inspection for leakage, moisture, damaged wiring, or an appliance fault. Do not bypass ground-fault protection or move the sauna to an unprotected outlet as a workaround.
The plug, outlet, or cord becomes unusually hot
Stop use. If there is smoke, arcing, or visible damage, keep away and obtain urgent professional help; otherwise, disconnect only when safe and have the connection inspected before reuse.
The controls work but the sauna does not heat
Check only the owner-accessible settings and assembly connections identified in the manual, with the appliance disconnected where instructed. Leave internal testing to qualified service personnel. Identify the exact model before requesting sauna parts; a similar-looking component is not proof of compatibility.
Customize your workflow
Finish the electrical installation before considering timers, remote controls, or automation. An accessory must be suitable for the appliance’s electrical load, connection method, and permitted operating behavior; a general-purpose smart plug is not automatic approval for controlling a heater.
For a combined sauna and cold-plunge room, assess each appliance separately. Keep water-related placement and electrical requirements in the design rather than adding them after the sauna circuit is complete.
Related guides
FAQ
Can I wire an infrared sauna into my electrical panel myself?
Have a licensed electrician perform panel work, circuit installation, and hardwired connections. Homeowners can collect the appliance documents and prepare the location without opening electrical equipment.
Does every infrared sauna need a dedicated circuit?
No universal dedicated-circuit requirement can be inferred from infrared heating alone. Follow the exact model’s installation instructions and the applicable electrical rules, with the circuit assessed by an electrician.
Does a home infrared sauna use 120 volts or 240 volts?
The exact appliance’s nameplate and manual determine its required voltage. Never connect a sauna to a different supply voltage because an adapter or replacement plug appears to fit.
What breaker size do I need for an infrared sauna?
Your electrician must select the breaker from the appliance requirements and applicable circuit-design rules. Seating capacity, heating-panel count, and a generic watts-to-amps calculation are not enough.
Can I hardwire a sauna that comes with a plug?
Do not hardwire a cord-connected sauna unless the manufacturer explicitly permits that connection method. Cutting off the factory plug is not a substitute for an approved installation.
Does my infrared sauna need GFCI protection in 2026?
Ground-fault protection requirements depend on the installation location, connection, and locally adopted electrical code. Have the electrician establish the requirement; never remove required protection to prevent trips.
Can I use an extension cord for my infrared sauna?
Do not plan an extension cord as a substitute for a correctly located approved supply. Follow the manufacturer’s connection instructions and have an electrician provide the appropriate connection point.
Can I choose an Aeva Vital sauna breaker from its product description?
No. The supplied Aeva Vital product descriptions do not establish circuit ratings; obtain the exact model’s nameplate and installation manual before the electrician designs the supply.
One last thing
Before approving the circuit, place the sauna’s nameplate photograph beside the electrician’s written installation scope. Check that both refer to the same model and supply requirements. This simple document check catches a mismatch before it becomes an installed circuit.