
Instead of repeatedly adjusting the faucet while your bath fills, size a tankless water heater for soaking tub use around incoming water temperature, required hot-water flow, and simultaneous household demand. Then have qualified installers commission the heater and tub filler together so the system delivers a steady fill without relying on a higher temperature setting to compensate for insufficient capacity.
By Editorial Team
A tankless heater heats water as it passes through the unit rather than storing a heated supply. It can serve a soaking tub, but its usable flow depends on the temperature rise it must produce—not just the maximum flow printed in a product headline. Coordinate the heater work with your freestanding tub installation, especially before closing walls or fixing the tub in position.
- Size a tankless water heater for soaking tub use at the required temperature rise, not advertised maximum flow.
- Aeva Vital soaking tubs require heater sizing based on actual fill volume and the chosen tub filler.
- Check gas or electrical capacity before selecting a heater; utility upgrades change the installation scope.
- Test the tub filler alone and with other fixtures before accepting the installation.
Why this matters
A soaking tub puts sustained demand on a water heater. A tankless unit does not empty a storage tank, but it still has a heating limit. When demand exceeds that limit, the system cannot maintain both the requested temperature and unrestricted flow.
For a 2026 bathroom project, separate three questions: how much water your bath needs, how quickly you want it delivered, and how much of that flow must come from the heater. Size for the actual installation, not the tub's length or the heater's headline rating.
The tub filler matters too. Its valves, supply connections, and operating pressure affect delivery; replacing the heater does not remove a restriction elsewhere in the plumbing.
Before you start
- Gather the documents and measurements. Have the tub installation instructions, heater installation manual and performance chart, tub-filler specifications, incoming water temperature, and measured fixture flow available. Use the exact manuals for the equipment being installed.
- Arrange qualified installation and required approvals. Have the plumbing, fuel supply or electrical service, venting where applicable, and local permit requirements reviewed before committing to equipment. Gas connections and high-current electrical work are not homeowner setup tasks.
- Check the activation threshold. Tankless heaters require a model-specific minimum flow to operate. A heavily mixed, low-flow trickle can send too little water through the heater even when water is visibly running into the tub.
At-a-glance configuration choices
These are installation approaches, not recommendations for particular heater models. Compare their constraints before asking an installer to specify equipment for your 2026 project.
| Configuration | Best for | Advantage | Limitation to resolve |
|---|---|---|---|
| Whole-house gas tankless | Homes with suitable gas infrastructure and an approved venting route | Serves the tub and other fixtures from one system | Gas delivery, venting, and simultaneous demand require verification |
| Whole-house electric tankless | Homes with electrical service that supports the calculated heating load | Does not require combustion venting | Service capacity and required circuits can constrain the installation |
| Dedicated tankless heater | Projects that need the tub demand assessed separately | Separates tub heating demand from a shared heater | Still needs adequate utilities, installation space, and service access |
None of these configurations wins without a load calculation. A dedicated heater isolates demand; it does not automatically make a fast-filling tub compatible with the available utility service.
Water-demand measurements
- Record the intended fill. Identify the water level you actually use, below the overflow. Obtain the manufacturer's capacity information and its definition; capacity to the overflow is not automatically your normal bath volume.
- Measure incoming temperature. Have the installer establish the cold-water temperature used for sizing, including the colder seasonal condition. A warm-weather reading alone does not establish winter performance.
- Measure delivered flow. Use a calibrated container and timed collection where safe, or have the plumber measure flow with suitable equipment. Record the faucet position and whether other fixtures were running.
- Choose the required filling performance. Write down the desired bath temperature and acceptable fill time. Give these requirements to the installer rather than requesting an unspecified “large” heater.
For a collection lasting 60 seconds, the number of US gallons collected is the flow in gallons per minute, or GPM. If your container uses fluid-ounce markings, 128 US fluid ounces equal 1 US gallon. These are measurement conversions, not promised equipment outputs.
The basic relationship is straightforward: fill time equals fill volume divided by total delivered flow. Use consistent units—gallons divided by gallons per minute gives minutes—and recognize that adjustments at the faucet change the result.
Expected result: You have a demand sheet containing fill volume, inlet temperature, desired bath temperature, measured flow, and simultaneous fixture use. That sheet becomes the basis for heater selection.
Heater sizing and utility review
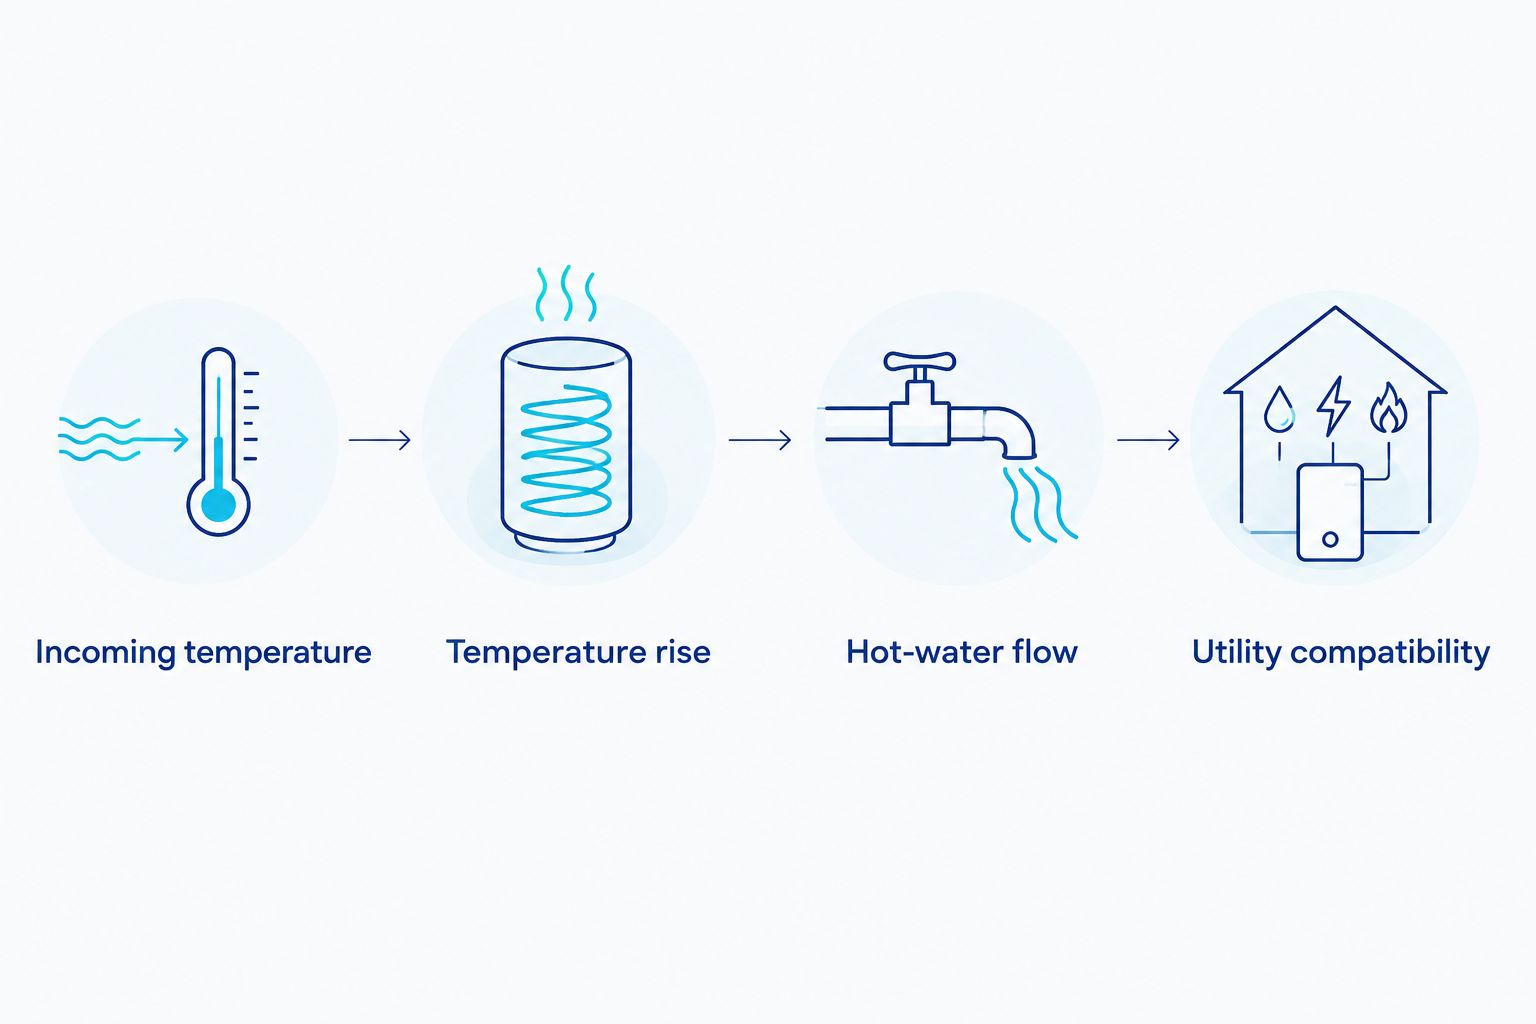
- Calculate temperature rise. Subtract the incoming water temperature from the intended heater outlet temperature. Temperature rise describes the heating work required; it is not the same as the final mixed bath temperature.
- Identify required hot-water flow. Account for cold water mixed at the tub filler. Total spout flow and flow through the heater are different whenever the faucet blends hot and cold supplies.
- Read the performance chart. Match the required hot-water flow to the calculated temperature rise. Do not substitute the unit's highest advertised GPM for its output under your conditions.
- Add simultaneous hot-water demand. Include the fixtures that must work during a bath fill. Have the installer size against those combined demands rather than assuming the tub always operates alone.
- Confirm utility compatibility. Require a model-specific review of gas delivery or electrical service, along with installation and maintenance clearances.
A colder inlet requires more heat to reach the same outlet temperature. For a heater with a fixed maximum heating output, that leaves less flow capacity at the higher temperature rise. This is why a 2026 equipment comparison needs the performance chart, not just the sales specification.
Ask the installer to document the chosen sizing condition. That record should distinguish a tub-only calculation from one that includes another shower or appliance; otherwise, two apparently similar proposals can describe different levels of service.
Expected result: The selected heater meets the documented hot-water demand at the sizing temperature rise, and the installer has confirmed the supporting utilities.
Plumbing and installation configuration
- Confirm the water path. Have the plumber check supply sizing, valve restrictions, pressure, and the tub filler's requirements. Verify that the chosen filler suits the planned installation location.
- Provide service access. Keep the heater's required isolation valves, service connections, filters, and controls accessible according to its manual. Do not hide maintenance points behind permanent finishes.
- Resolve model-specific installation needs. Have qualified trades install the required electrical supply, gas system, venting, condensate disposal, and other applicable connections. Not every heater needs every item.
- Configure temperature protection. Have the plumber verify the applicable mixing or temperature-limiting arrangement and local requirements. Do not use an elevated outlet setting as a substitute for adequate capacity.
- Complete startup checks. Follow the exact manufacturer sequence for filling, purging, leak checks, and commissioning. Do not energize equipment before the required water-side preparations are complete.
There are no universal control-panel labels for tankless heaters. Follow the exact labels and permitted settings in your model's manual rather than applying instructions intended for another unit.
Expected result: The heater and tub filler are installed, accessible for service, checked for leaks, and ready for supervised performance testing. Required inspections remain part of acceptance, not an optional finishing task.
Fill testing and handover
- Run a tub-only test. With the drain open, have the installer verify stable delivery at the normal filling position. Measure delivered temperature safely with an appropriate thermometer; do not judge hot water by touch.
- Check the intended fill. Supervise a fill to your planned level and record elapsed time. Do not leave a running bath unattended, even if the filler has electronic controls.
- Test concurrent demand. Run the other fixtures included in the sizing calculation. Record whether the tub's temperature or flow changes.
- Check lower-flow operation. Test the actual faucet positions you use. Verify that the heater continues operating where expected and that temperature protection works correctly.
- Save the handover record. Keep model details, approved settings, test conditions, service requirements, and installer contact information with your bathroom documents.
For the 2026 handover, distinguish measured results from calculated expectations. A successful warm-weather test confirms operation under that day's conditions; it does not replace sizing for colder incoming water.
Expected result: You know the normal fill time, the effect of simultaneous use, and the operating positions that deliver stable water. Any shortfall is addressed before the installation is signed off.
Variant: Fill the tub while another fixture runs
Best for: households that cannot reserve all hot-water capacity for bath filling. Build concurrent use into the design rather than discovering the limitation after installation.
List the specific fixtures that overlap with the tub, and have the installer calculate their combined hot-water demand. Then repeat the commissioning test with those fixtures operating under the intended conditions.
The advantage is predictable performance during shared use. The constraint is a higher required heating load and possible utility changes; a larger heater alone does not solve an inadequate fuel supply or electrical service.
If the existing system cannot support concurrent demand, scheduling bath fills separately is an operating workaround—not proof that the heater meets the original design requirement. Keep that distinction clear in the handover record.
Troubleshooting
- Water cools when another fixture opens. Compare combined demand with the heater's output at the current temperature rise. Ask the installer to check capacity and supply conditions; do not simply raise the outlet temperature.
- The heater stops during a slow trickle. Check whether hot-side flow falls below the model's activation threshold. Have the plumber review the filler, mixing arrangement, and permitted operating range.
- The tub fills slowly but stays warm. Check the filler rating, valve positions, supply restrictions, filters, and operating pressure. Heating capacity and plumbing flow are separate limits.
- Cold water arrives between warm sections. Ask the installer to distinguish normal startup and pipe-volume effects from cycling, crossover, or a fault. Report the faucet position and timing instead of repeatedly changing settings.
- An error appears or output declines. Record the exact displayed code and consult the model's manual. Arrange prescribed service, including inspection for restrictions or scale where relevant; do not bypass protective controls.
Aeva Vital soaking-tub specifications: what they establish
Aeva Vital is best for home-wellness shoppers considering soaking tubs alongside other home wellness equipment. Water-heater selection remains a separate plumbing decision.
The supplied product listing names a 55-inch Acrylic Freestanding Soaking Bathtub with Chrome Drain. That identifies a named size, construction material, installation style, and drain finish; it does not establish usable fill volume, filler flow, or a compatible tankless-heater rating.
For an Aeva Vital soaking tub, obtain the applicable capacity information and installation instructions before final heater sizing. Do not treat the named 55-inch size as a measured exterior dimension or use it to infer gallons.
The practical advantage of a specification-led purchase is knowing which details to confirm. The limitation is equally important: a tub's material, length label, and drain finish do not prove hot-water compatibility.
Customize your workflow
Turn the installation into a repeatable bath-filling routine: use the commissioned faucet position, monitor the fill, and avoid unplanned concurrent demand. Retain the baseline measurements so changes in flow or temperature are easier to describe during service.
Build maintenance around the heater manufacturer's instructions and your water conditions. There is no universal descaling interval that applies to every model and every home.
For future bathroom changes, review the demand calculation again if you replace the filler or change how fixtures operate together. Your 2026 commissioning record is a reference point, not a permanent guarantee under changed conditions.
FAQ
Can a tankless water heater fill a soaking tub?
Yes, if its usable hot-water output meets the tub's demand at the required temperature rise. Check the model's performance chart, the tub filler, and any simultaneous fixture use.
What size tankless water heater do I need for a soaking tub?
Size it from incoming water temperature, intended heater outlet temperature, required hot-water flow, and concurrent demand. Tub length and advertised maximum GPM alone are insufficient.
Does a tankless water heater provide unlimited hot water?
A tankless heater does not depend on a finite stored supply, but its heating output is limited. It cannot deliver unrestricted flow at every requested temperature rise.
Is gas or electric tankless better for a soaking tub?
The better choice is the configuration that meets the calculated demand and suits the home's utilities. Gas requires an appropriate fuel supply and venting; electric requires adequate service and the specified circuits.
Why does my tub water turn cold during filling?
Possible causes include demand exceeding heater output, hot-side flow below the activation threshold, or an installation or equipment fault. Have the installer check the operating conditions and any displayed error code.
Can I install a tankless water heater myself?
Use qualified trades for heater installation, utility connections, and required commissioning. You can gather documents and define the desired fill performance before that work begins.
Does a 55-inch soaking tub tell me the heater size?
No, a 55-inch size label does not establish fill volume or hot-water demand. Obtain capacity information and combine it with filler flow, incoming temperature, and simultaneous use.
Should I increase the heater temperature to fill the tub faster?
Do not increase the outlet setting as a shortcut for insufficient capacity. Have the installer review sizing and temperature protection; hotter water increases scald risk and changes the mixing requirements.
Related guides
- Freestanding soaking tubs for remodelers
- Freestanding soaking tubs ranked by soaking depth
- Freestanding tub materials: acrylic vs. stone resin
One last thing
A larger tub does not automatically need a larger tankless heater: volume determines how long the demand lasts, while hot-water flow and temperature rise determine the instantaneous heating load. Give your installer both requirements before choosing equipment.