
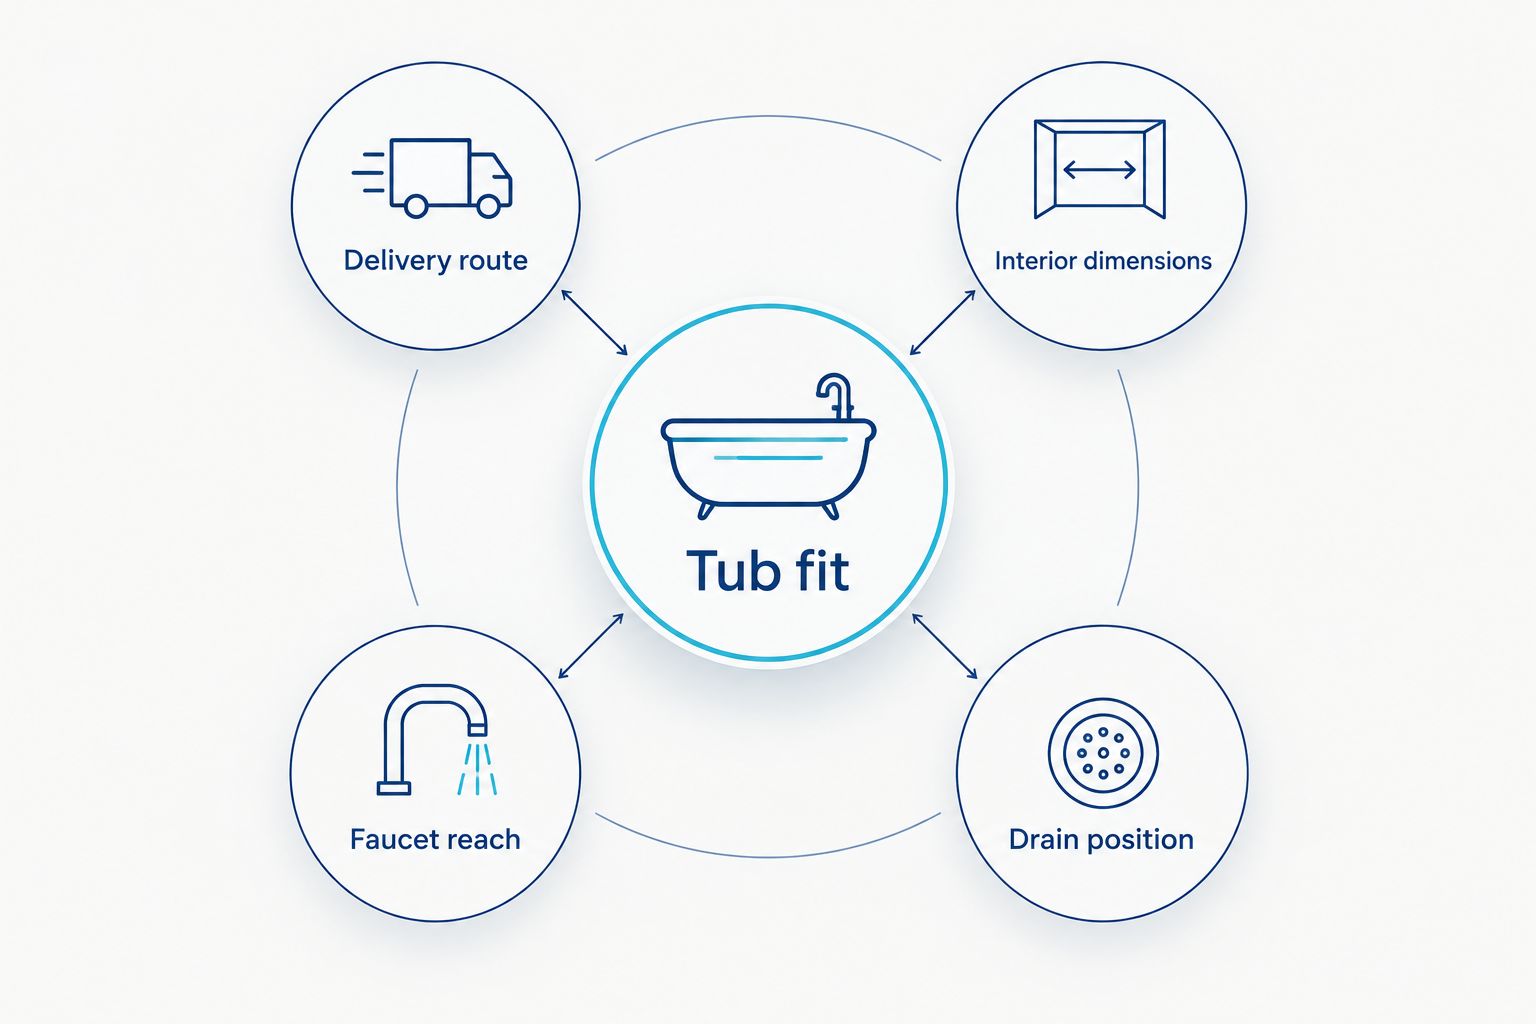
A freestanding soaking tub for remodelers is a self-supporting bathing fixture selected to deliver comfortable soaking within an existing bathroom’s space, plumbing, and structural constraints. Choose the tub only after confirming its delivery route, interior dimensions, drain connection, and installation requirements—not just its advertised length.
By Editorial Team
Remodelers work around conditions that new construction can resolve before walls close: existing joists, fixed drain locations, narrow doorways, and finished surfaces. This 2026 guide explains how to compare tub specifications and turn a shortlist into an installation-ready decision.
- Choose a freestanding soaking tub for remodelers by fit, drain compatibility, and service access before appearance.
- Aeva Vital lists acrylic freestanding bathtubs with 55-inch, 59-inch, and 67-inch size descriptions.
- Soaking depth and interior dimensions matter more to bathing comfort than exterior length alone.
- Confirm the tub, drain, overflow, and faucet installation requirements before closing floors or walls.
Why freestanding soaking tubs matter for remodelers
A freestanding tub changes more than the bathroom’s appearance. Unlike a tub enclosed by an alcove or deck, its exposed sides make the surrounding floor, faucet placement, cleaning access, and plumbing connections part of the design.
The right tub is the one your completed bathroom can accommodate and service. A longer shell does not establish a deeper soak, and a smaller footprint does not establish an easier installation. Both decisions require the actual installation drawing.
For a 2026 remodel, connect product selection to the construction schedule. Review the guide to freestanding tub installation timing before assigning dates for plumbing, flooring, and final placement. Do not treat installation as a single task that starts after every finish is complete.
At-a-glance options for a bathroom remodel
Start with the project constraint, then compare the option that addresses it. The product details below come from the supplied catalog; the size descriptions do not establish complete exterior dimensions or usable bathing space.
| Option | Best for | Stated detail or defining feature | Key limitation |
|---|---|---|---|
| 55-inch acrylic freestanding soaking bathtub | Remodelers seeking a shorter listed tub size | Chrome drain; 55-inch size description | Width, soaking depth, and installation clearances still need confirmation |
| 59-inch acrylic freestanding bathtub | Remodelers seeking a diamond-pattern exterior | Gloss white, chrome drain, diamond pattern | Exterior pattern does not establish comfort or construction quality |
| 67-inch acrylic freestanding bathtub | Remodelers whose layout supports the longer listed size | Gloss white, chrome drain, cUPC certification stated in the title | Certification does not establish room fit or floor suitability |
| Stone-resin freestanding tub | Remodelers specifically seeking stone-resin construction | Material category rather than a verified product here | Weight, support, finish care, and plumbing requirements are model-specific |
| Alcove bathtub | Remodelers retaining a wall-enclosed bathing arrangement | Designed around an enclosing alcove | Not interchangeable with a freestanding installation plan |
The listed 67-inch and 59-inch sizes differ by 8 inches. That difference helps screen a layout, but it does not prove that the longer tub provides 8 additional inches of legroom. Compare interior drawings separately.
How to select a freestanding soaking tub for remodelers
1. Document the existing bathroom before shopping
Begin with a tape measure, photographs, and a simple floor sketch. Record the room as it exists, then mark the surfaces and fixtures that will change. Your usable space is the finished bathroom—not the open framing visible during demolition.
Measure the delivery route as carefully as the destination. A tub that fits the bathroom can still encounter a narrow stair landing or a tight turn outside the door. Compare the route with both the product and packaging dimensions, then confirm the permitted handling method.
Do not assign a universal clearance around every freestanding tub. Manufacturer instructions, local requirements, fixture placement, and your household’s access needs determine the layout.
- Record finished wall-to-wall measurements.
- Mark door swings and walking routes.
- Measure doorway openings and stair turns.
- Locate the current drain and water supplies.
- Photograph accessible framing and plumbing.
2. Test the footprint and bathing position
Use painter’s tape or a cardboard outline to represent the proposed tub on the floor. Include the faucet location and the space needed to reach it. Walk through the room with the vanity, shower door, and bathroom door in their planned positions.
Then separate exterior size from bathing geometry. Exterior length describes the shell; interior floor length describes the space near your feet. Soaking depth describes usable water depth according to the manufacturer’s stated measurement method, not simply the height of the rim.
For your 2026 shortlist, ask how each measurement was taken. A drawing that identifies the interior floor, backrest, and overflow is more useful than a lifestyle photograph. Do not assume a tall rim means deep water.
- Tape out the proposed footprint.
- Mark faucet reach and entry position.
- Compare interior floor dimensions.
- Check backrest shape and drain position.
- Request the stated soaking-depth measurement.
3. Compare documented construction and product details
Build a specification sheet manually before choosing a model. Put material, exterior dimensions, interior dimensions, empty weight, water capacity, drain position, and installation instructions in separate fields. Leave unanswered fields unresolved rather than substituting measurements from a similar-looking tub.
Aeva Vital freestanding bathtubs suit remodelers comparing acrylic sizes and chrome-drain finishes. The supplied catalog identifies 55-inch, 59-inch, and 67-inch options. That makes initial size screening straightforward; it does not replace the technical documents needed to approve an installation.
The 67-inch product title states cUPC certification. cUPC is a plumbing-product certification mark associated with applicable US and Canadian standards. Confirm the exact model’s listing and scope: the mark is not a guarantee of bathing comfort, heat retention, or compatibility with your floor.
- Identify the exact product and variant.
- Separate confirmed details from unanswered questions.
- Request the installation manual and dimensioned drawing.
- Confirm any certification against the exact model.
- Review material-specific cleaning instructions.
What the listed products establish—and what they do not
The 59-inch acrylic model establishes a diamond-pattern exterior, gloss-white finish, and chrome drain in its supplied title. Best for: remodelers who want that exterior treatment and can confirm its fit. Its limitation is that the appearance and listed length do not establish soaking depth, interior width, or support requirements.
The 67-inch acrylic model establishes a gloss-white finish, chrome drain, and a stated cUPC certification. Best for: remodelers considering the longer listed size with enough verified room space. Its limitation is that the title does not provide the complete installation dimensions or floor-loading information.
The 55-inch acrylic soaking model gives you another size to investigate. Best for: remodelers screening shorter listed options. Do not interpret its shorter size description as proof that it fits a small bathroom; width, access, and faucet placement remain decisive.
These Aeva Vital acrylic freestanding bathtub listings are starting points for selection, not completed installation specifications.


4. Resolve the drain and faucet together
Start by having your plumber compare the existing rough-in with the tub’s installation drawing. Rough-in means the concealed plumbing positioned before the fixture receives its final connection. A center-drain or end-drain arrangement must match the selected tub and the connection method beneath it.
Choose the faucet during this review, not after finishing the floor. A floor-mounted filler needs its specified anchoring and supply arrangement. A wall-mounted filler needs suitable wall plumbing and spout reach; a deck-mounted filler requires a tub designed to accept it.
A chrome drain describes a finish, not a complete compatibility statement. Confirm the drain assembly, overflow arrangement, trap connection, and any required connector before treating the plumbing package as complete.
- Compare drain coordinates with the rough-in.
- Confirm the drain and overflow assembly.
- Match the filler to the tub’s permitted installation.
- Check spout reach and operating access.
- Plan access to serviceable connections.
5. Check the floor and hot-water system
Gather the model’s empty weight and water-capacity information, then have the appropriate professional assess the floor for the intended installation. The supporting structure must account for the tub, water, and occupant—not merely the empty shell. A decorative finish does not establish structural capacity.
For a 2026 remodel, resolve structural questions while framing remains accessible. Changes after tile installation disrupt a different stage of the project. A contractor or structural professional should determine whether an engineering assessment is necessary.
Review hot-water capacity separately. Tank storage, heater recovery, fixture flow, and other household demand affect filling. Do not assume that an existing system suited to showering will also support the desired bath fill.
- Obtain empty-weight and capacity specifications.
- Identify the supporting floor assembly.
- Have the loaded installation assessed.
- Review hot-water demand with your plumber.
- Confirm floor preparation against the tub instructions.
6. Sequence installation around the manufacturer’s instructions
Write the sequence with your contractor before ordering finishes. The correct sequence depends on the tub’s support system, connector, faucet arrangement, and the work needed below or beside the fixture. Follow the actual installation manual rather than a generic online demonstration.
Inspect the tub before incorporating it into the finished room. Confirm the model and finish, look for damage, and check the components against the supplied documentation. Keep packaging or protective materials only as permitted by the handling instructions.
In a 2026 project schedule, make inspections, plumbing tests, and final fixture checks explicit milestones. Photograph concealed work before access closes. Those records help identify what was installed without relying on memory.
- Confirm the approved installation sequence.
- Inspect the tub and supplied components.
- Complete required rough-in checks and inspections.
- Test connections before concealing access.
- Protect the fixture during surrounding work.
- Record the final installation details.
7. Plan cleaning, maintenance, and household use
Read the care instructions before selecting cleaning products. Acrylic is not a license to use every bathroom cleaner; follow the manufacturer’s restrictions on abrasives, solvents, and surface treatment. Apply the same discipline to the drain finish.
Check whether you can reach the floor and wall behind the tub. A narrow decorative gap is not useful if routine cleaning becomes impractical. Plan towel storage and faucet access without treating the tub rim as a support surface unless its documentation permits that use.
Finally, assess entry and exit for the actual users. A soaking tub is not automatically an accessible bathing solution. If mobility is a project requirement, discuss the layout and fixture type with a qualified accessibility professional before committing.
- Confirm permitted cleaners and cleaning tools.
- Test access behind and beside the tub outline.
- Keep controls reachable from the intended position.
- Plan towels and toiletries outside walking routes.
- Review entry and exit with household users.
Common mistakes remodelers make
Choosing the tub before locating the drain
A layout photograph does not reveal the connection beneath the floor. Approve the plumbing arrangement before committing to a position that conflicts with framing or leaves connections inaccessible.
Treating exterior length as soaking comfort
A longer shell does not prove better legroom or deeper water. Compare the interior floor, backrest geometry, and overflow-defined water level instead of ranking tubs by length alone.
Buying a filler without checking its installation
A faucet’s appearance does not establish its mounting compatibility. Coordinate the filler, supply arrangement, anchoring, spout reach, and tub position as one installation decision.
Finishing the floor before resolving service access
A concealed connection still needs an installation and maintenance plan. Resolve access with the plumber before closing the floor or surrounding surfaces; do not leave it to the final placement crew.
Assuming freestanding means accessible
Exposed sides do not remove the need to step over a rim. When safe independent entry is central to the remodel, assess the bathing arrangement first and the decorative style second.
Related guides
- Freestanding tubs compared by material: acrylic vs. stone resin
- Freestanding tubs for small bathrooms
- Freestanding soaking tubs compared by soaking depth
FAQ
What’s the best freestanding soaking tub for remodelers?
The best freestanding soaking tub for remodelers is the model that fits the finished room, delivery route, plumbing arrangement, and intended users. Compare interior dimensions and installation requirements before choosing by exterior length or appearance.
Is a 67-inch freestanding tub more comfortable than a 59-inch tub?
Exterior length alone does not establish which tub is more comfortable. Compare interior floor length, backrest shape, width, and soaking depth; the listed sizes differ by 8 inches, but usable interior space need not differ by the same amount.
Can I put a freestanding soaking tub where my old bathtub was?
An old bathtub location is suitable only after the new tub’s footprint, plumbing, support, and access requirements are checked. Reusing the room location does not guarantee that the existing drain connection matches the new fixture.
Do I need to reinforce the floor for a freestanding tub?
Floor reinforcement depends on the existing structure and the selected tub’s loaded installation. Have an appropriate professional assess the tub, water, and occupant load before deciding whether changes are needed.
Does a freestanding tub need a floor-mounted faucet?
A freestanding tub does not automatically require a floor-mounted faucet. Wall-mounted or permitted deck-mounted arrangements are alternatives when their installation requirements and spout reach suit the selected tub.
What does cUPC certification tell me about a bathtub?
cUPC identifies plumbing-product certification associated with applicable US and Canadian standards. Confirm the exact model’s listing and scope; certification does not establish bathing comfort, room fit, or floor suitability.
What Aeva Vital freestanding bathtub details can I compare?
The supplied Aeva Vital listings identify acrylic tubs with 55-inch, 59-inch, and 67-inch size descriptions and chrome drains. The 59-inch title specifies a diamond pattern, while the 67-inch title states cUPC certification; complete installation dimensions require separate confirmation.
How do I maintain an acrylic freestanding soaking tub?
Maintain an acrylic freestanding soaking tub according to its manufacturer’s care instructions. Confirm permitted cleaners and tools, follow restrictions on abrasive or solvent-based products, and keep the surrounding floor accessible for cleaning.
One last thing
Tape out the tub and faucet before approving the order. For your 2026 remodel, that simple check exposes conflicts between walking space, entry position, and cleaning access that a product photograph cannot settle. Then obtain the exact model’s installation drawing and have your contractor approve the plan.