

Instead of manually routing fill and drain hoses across the floor, plan plumbing freestanding tub and cold plunge installations around separate fixture connections and an approved wastewater route. Give each fixture supply isolation and service access, and keep any plunge circulation loop separate from the home's drinking-water pipes.
By Editorial Team
For homeowners choosing Aeva Vital home wellness equipment, separate fixture connections are the right starting point for a shared bathing and plunge room. This 2026 guide covers the layout, supply, drainage, electrical coordination, and commissioning decisions to settle before the floor closes. Pair it with the freestanding tub installation timing guide when scheduling the work.
- For plumbing freestanding tub and cold plunge installations, keep drinking-water supply, wastewater drainage, and chiller circulation separate.
- Aeva Vital lists freestanding bathtubs and ice baths; confirm each selected model's installation requirements before rough-in.
- A shared sanitary branch requires plumbing review, not a direct hose connection between the fixtures.
- Plan backflow protection, electrical safety, and maintenance access before finishing the room.
Why this matters
A freestanding bathtub and a cold plunge use water differently. A soaking tub normally receives fresh water for each bath and empties afterward. A plunge setup either follows a fill-and-empty routine or retains water with manufacturer-approved treatment and circulation equipment.
Putting both in one room does not make them one plumbing system. A shared room is straightforward to plan; a shared water circuit is not the default. The useful overlap is access to the building's utilities, not a connection that mixes bathwater, plunge water, and potable supply.
Before you start
- Gather the installation documents. Obtain the selected fixtures' dimensions, drain locations, connection requirements, filled weights, support instructions, and indoor-use requirements. Include the chiller manual if you plan to use one.
- Arrange trade access. Have a licensed plumber review supply, waste, venting, and backflow protection. Include an electrician for powered equipment and a structural professional when the floor's capacity needs assessment.
- Resolve the hidden gotcha: submerged fill hoses. A hose sitting below the plunge waterline creates a backflow risk. Have the plumber specify an approved fill arrangement before choosing taps or routing permanent supply lines.
For a 2026 remodel, use the locally adopted code and the actual equipment instructions. The calendar year alone does not identify which plumbing or electrical code edition your jurisdiction enforces.
At-a-glance plumbing comparison
| Configuration | Best for | Supply and drainage approach | Advantage | Limitation |
|---|---|---|---|---|
| Freestanding soaking tub | Conventional fresh-water bathing | Hot and cold supply to a filler; approved tub waste and vent arrangement | Familiar residential fixture layout | Floor-mounted fittings and concealed drains need accurate positioning |
| Manually filled plunge | A fill-and-empty routine | Backflow-protected fill method; approved emptying route | Avoids a permanent circulation loop | Requires hands-on filling, draining, and cleaning |
| Plunge with compatible circulation equipment | Retained-water operation allowed by the equipment instructions | Separate fill and emptying provisions plus a dedicated circulation loop | Supports circulation without repeatedly connecting hoses | Adds electrical, ventilation, treatment, and service requirements |
Choose the operating method before the rough-in. A plunge that uses ice is not automatically compatible with a chiller, and circulation does not replace sanitation.
Room layout and connection schedule
- Mark the bathtub, plunge, filler, and any equipment footprint on the floor. Use complete dimensional drawings, not product length alone.
- Mark the access space required by the installation manuals. Include drain connections, shutoffs, filters, removable panels, and any ventilation openings.
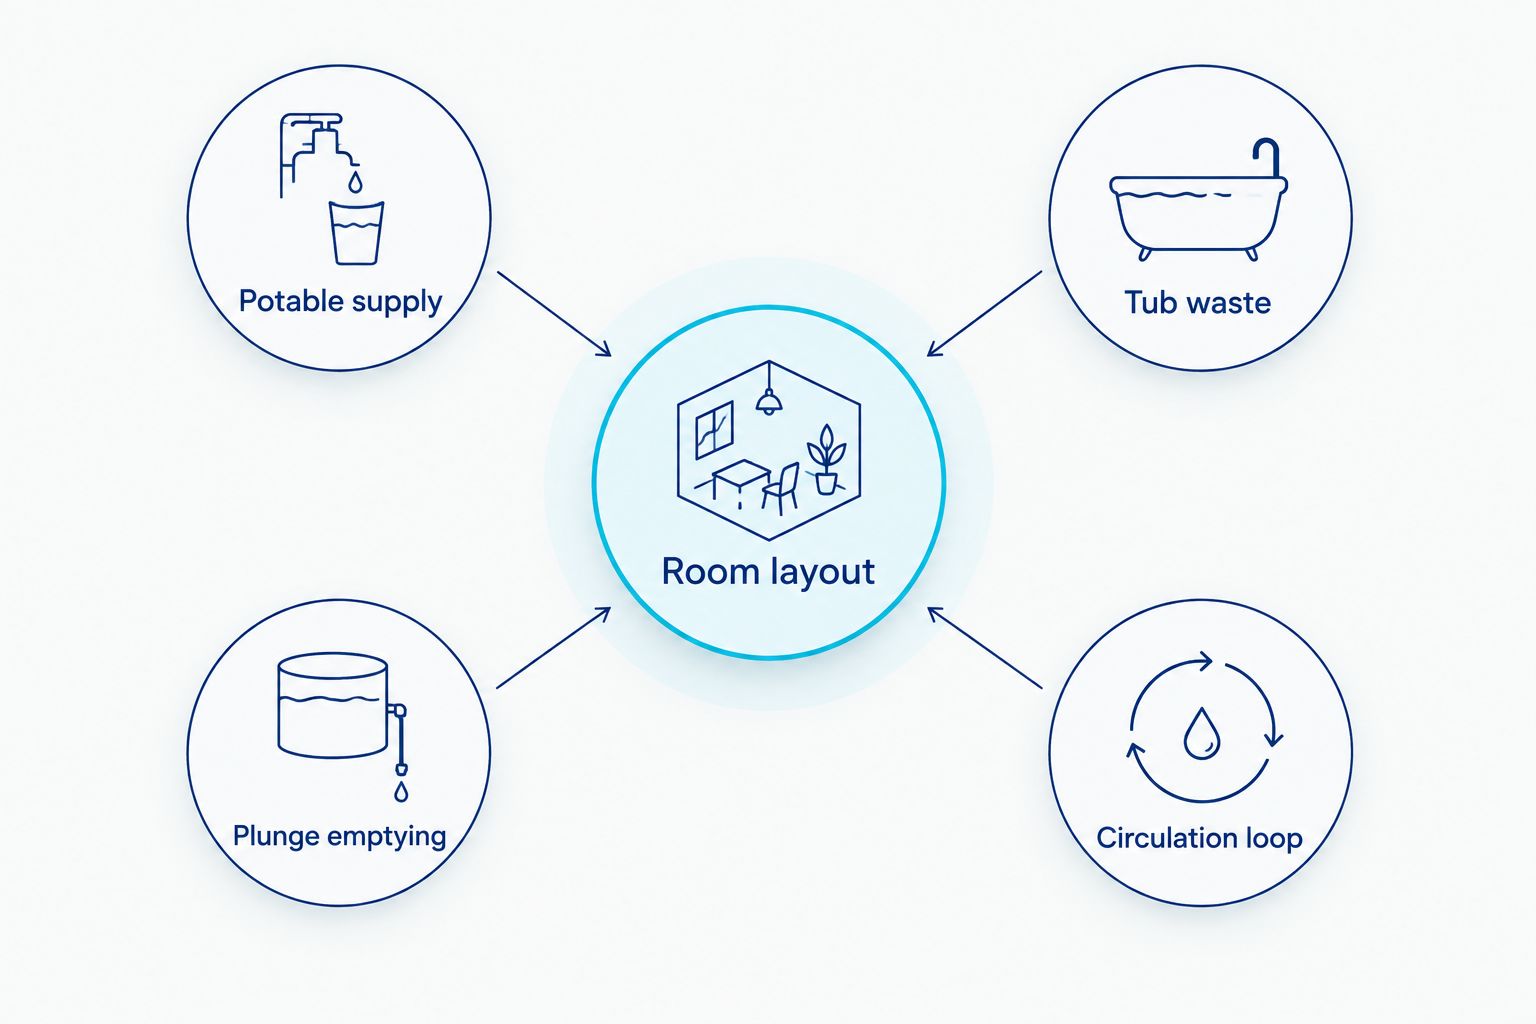
- Record each system separately: Potable supply, Tub waste, Plunge emptying, and Circulation loop. These are planning labels, not equipment controls.
- Confirm the route from the doorway to each fixture. Keep service hoses and cords outside the walking path.
- Have the trades check floor support, drain elevation, outlet placement, and wall penetrations before approving the layout.
Expected result: You have a connection schedule showing where each pipe goes, how each fixture empties, and how technicians reach every service point.
Floor support and moisture control
Water contributes substantially to the load on a floor. The structural review must include the vessel, its operating water volume, occupants, and equipment rather than just the empty product weight. Do not use a listed tank capacity as a substitute for the manufacturer's filled-load information.
Plan for splashes and condensation separately. Waterproofing protects the room assembly; a floor drain provides a discharge point only when properly designed and connected. Neither proves that the floor supports the installation.
Cold surfaces can collect condensation when they are below the room air's dew point. Include insulation and humidity control in the room plan, while preserving the equipment's required ventilation.
Supply and backflow protection
- Have the plumber identify the hot and cold branches serving the bathtub filler. Confirm the filler mounting method before setting the tub position.
- Assign accessible isolation valves so maintenance does not require shutting down unrelated fixtures. Keep access panels reachable after installation.
- Select the plunge filling method according to its instructions. Keep the potable fill connection distinct from the water returning through a chiller or filter.
- Have the plumber specify backflow protection appropriate to the connection and local requirements. Do not assume that an ordinary hose attachment provides the required protection.
- Check the water heater's ability to serve the bathtub and other household demand. A plunge's cold-water fill does not remove the tub's hot-water requirement.
Expected result: Each fixture has a controlled filling method, accessible isolation, and a defined barrier against contaminated water entering the drinking-water supply.
What not to connect
Do not connect a plunge return line to a bathtub filler. Do not use a common hose to transfer used bathwater into the plunge. Do not leave a supply hose submerged in either vessel.
A chiller loop circulates vessel water through equipment. It is not a domestic cold-water branch. Identify its direction of flow from the actual manual, and leave port selection to the documented installation procedure.
Waste, venting, and emptying route
- Have the plumber establish the bathtub's approved drain and trap arrangement. Confirm that the chosen tub waste assembly matches the fixture and installation method.
- Identify how the plunge is designed to empty. A drain valve, hose connection, and permanent waste connection require different planning; do not substitute one for another without approval.
- Have the plumber evaluate whether both discharge routes can use a common downstream sanitary branch. Include pipe capacity, venting, connection method, and simultaneous discharge in that review.
- Keep a removable hose route controlled and accessible if the installation uses one. Secure it against movement and prevent water from discharging onto the finished floor.
- Complete required rough-in testing and inspections before closing concealed pipework. Photograph accessible connections for the maintenance record.
Expected result: Both fixtures empty through approved routes without improvised connections, inaccessible joints, or wastewater crossing the room.
Shared branch does not mean shared trap
Do not join the two drain outlets with a simple tee and assume the bathtub trap serves both. Trap and vent arrangements depend on the fixtures, their classification, and the adopted code.
A floor drain also needs its own approved installation. Ask how its trap seal will be maintained if it receives little water. Do not treat it as permission to dump plunge water across the floor or into an outdoor storm drain.
Electrical coordination and commissioning
- Have the electrician identify the protection, circuit, receptacle, and placement requirements for any powered plunge equipment. Follow its listing and installation instructions.
- Locate electrical connections away from the planned discharge path. Do not solve a short equipment cord with an extension cord across the wet area.
- Have the installer complete supply, drain, and connection testing before operating powered equipment. Keep concealed work accessible until inspection requirements are satisfied.
- Fill and empty each fixture separately, checking accessible joints and the discharge route. Then have the plumber check the shared branch under the intended operating conditions.
- Commission circulation equipment exactly as its manual specifies, including filling or priming where required. Never run a pump dry to test whether it works.
Expected result: The room has documented inspection and commissioning results, dry accessible joints, working isolation, and a maintenance procedure matched to the equipment.
During the 2026 handover, record shutoff locations and approved emptying procedures alongside the manuals. A finished room should not require guessing which valve isolates which fixture.
Product dimensions: what they establish
Aeva Vital's supplied product listings identify 67-inch and 59-inch acrylic freestanding bathtubs, plus a portable inflatable ice bath listed at 76.6 gallons. These figures help build a shortlist; they do not establish rough-in positions, operating fill levels, or indoor installation approval.
| Listed product | Confirmed listing detail | Best for | Useful distinction | Planning limitation |
|---|---|---|---|---|
| 67-inch acrylic freestanding bathtub | Gloss white, chrome drain, cUPC certified | Comparing a longer nominal tub size | Lists fixture certification | Length and certification do not establish room clearance or site compliance |
| 59-inch acrylic freestanding bathtub | Diamond pattern, gloss white, chrome drain | Comparing a shorter nominal tub size | Shorter listed length than the 67-inch model | Length alone does not establish width, service access, or drain position |
| Portable inflatable ice bath | Listed capacity of 76.6 gallons | Evaluating a portable plunge format | Identifies a portable vessel category | Capacity does not establish working fill, chiller compatibility, or drainage approval |
The cUPC certification stated for the 67-inch bathtub concerns the fixture. It does not certify your room's pipework, floor support, or electrical installation. Do not convert a product certification into a whole-installation claim.
Use these Aeva Vital bathtub and ice bath listings as equipment candidates, then obtain the applicable installation documents before committing to connections. The portable ice bath needs the same indoor-use and emptying review as any other plunge candidate.


Alternative workflow: manual fill and controlled emptying
A manual plunge setup still needs a planned wastewater route. It avoids permanent circulation pipework, but not backflow protection, floor-load review, or moisture management.
- Confirm that the vessel permits the intended indoor placement.
- Use the approved fill arrangement without submerging the potable-water outlet.
- Follow the vessel's cleaning and water-management instructions.
- Empty through the agreed discharge route while supervising the hose and receiving fixture.
- Clean, dry, and store removable hoses without blocking the walkway.
Best for: Homeowners who prefer hands-on operation and equipment whose instructions support this arrangement. The trade-off is repeated handling; it is not a maintenance-free alternative.
Troubleshooting
- The bathtub gurgles when the plunge empties. Stop combined discharge and have the plumber inspect the branch, venting, and potential blockage. Do not assume the remedy is a larger hose.
- A connection leaks after filling. Isolate the affected supply or equipment and stop use. Have the installer check alignment, seals, and the specified connection method before retesting.
- Cold pipes or the vessel drip onto the floor. Identify condensation versus leakage first. Correct insulation and room humidity without covering equipment ventilation openings.
- Electrical protection trips. Stop using the powered equipment and have an electrician investigate. Do not bypass protection, repeatedly reset it, or move the plug to evade the fault.
Customize your workflow
Expand the room only after the basic fill, emptying, and service routine works. Added equipment introduces its own access, electrical, and ventilation requirements; an empty corner is not automatically a suitable installation location.
For the 2026 maintenance plan, assign cleaning, filter service where applicable, water management, and inspections to the relevant manual. Keep a connection diagram with the room records so later changes do not accidentally bridge separate systems.
FAQ
Can a freestanding bathtub and cold plunge share a drain?
They can use a common downstream sanitary branch only when the plumbing design and local requirements permit it. A plumber must evaluate the connection method, capacity, traps, and venting; do not directly join the outlets with a hose or tee.
Does a cold plunge need a permanent water supply?
Not every cold plunge needs a permanent water supply. Follow the selected vessel's instructions and provide an approved filling method with appropriate backflow protection.
Can I fill a cold plunge from the bathtub faucet?
Use a bathtub faucet for plunge filling only through an approved arrangement. A submerged hose creates a backflow risk, so have a plumber specify the connection and protection.
Can a freestanding bathtub drain connection also serve the plunge?
Do not assume a bathtub drain connection can also serve the plunge. The receiving fixture and discharge method need plumbing review, including capacity and protection against overflow.
Does an ice bath automatically work with a chiller?
No, an ice bath is not automatically compatible with a chiller. Confirm the vessel's ports, materials, flow requirements, and approved equipment before planning a circulation loop.
Does cUPC certification approve the whole installation?
No, fixture certification does not approve the entire room installation. The listed 67-inch acrylic bathtub has cUPC certification, but the pipework, floor support, electrical work, and site conditions still require their own review.
What should I check before a shared-room installation in 2026?
Check the selected equipment manuals and the locally adopted codes before a shared-room installation in 2026. Confirm indoor suitability, floor support, supply protection, drainage, electrical requirements, and service access before rough-in.
Related guides
- Setting up a tankless water heater for your soaking tub
- Freestanding tub materials: acrylic versus stone resin
- Cold plunge tubs ranked by tank capacity
One last thing
Before approving the final layout, ask the installer to show how each fixture will be isolated, emptied, and serviced after both are in place. If a valve, drain joint, or removable component becomes unreachable, revise the layout before finishing the room.